
This tutorial is a part of the Getting started series — Day 2, Week 1, Month 2.
The problem: 7 new sections
Earlier we created a cloud project and wrote its first page. Great start! Now it is time to look around: the project has seven sections, and each one is responsible for its own part of the work. If it is not yet clear where to click and where to find the tools you need, don't worry - today we will go through everything in order.
Gamedesign: everything about your game
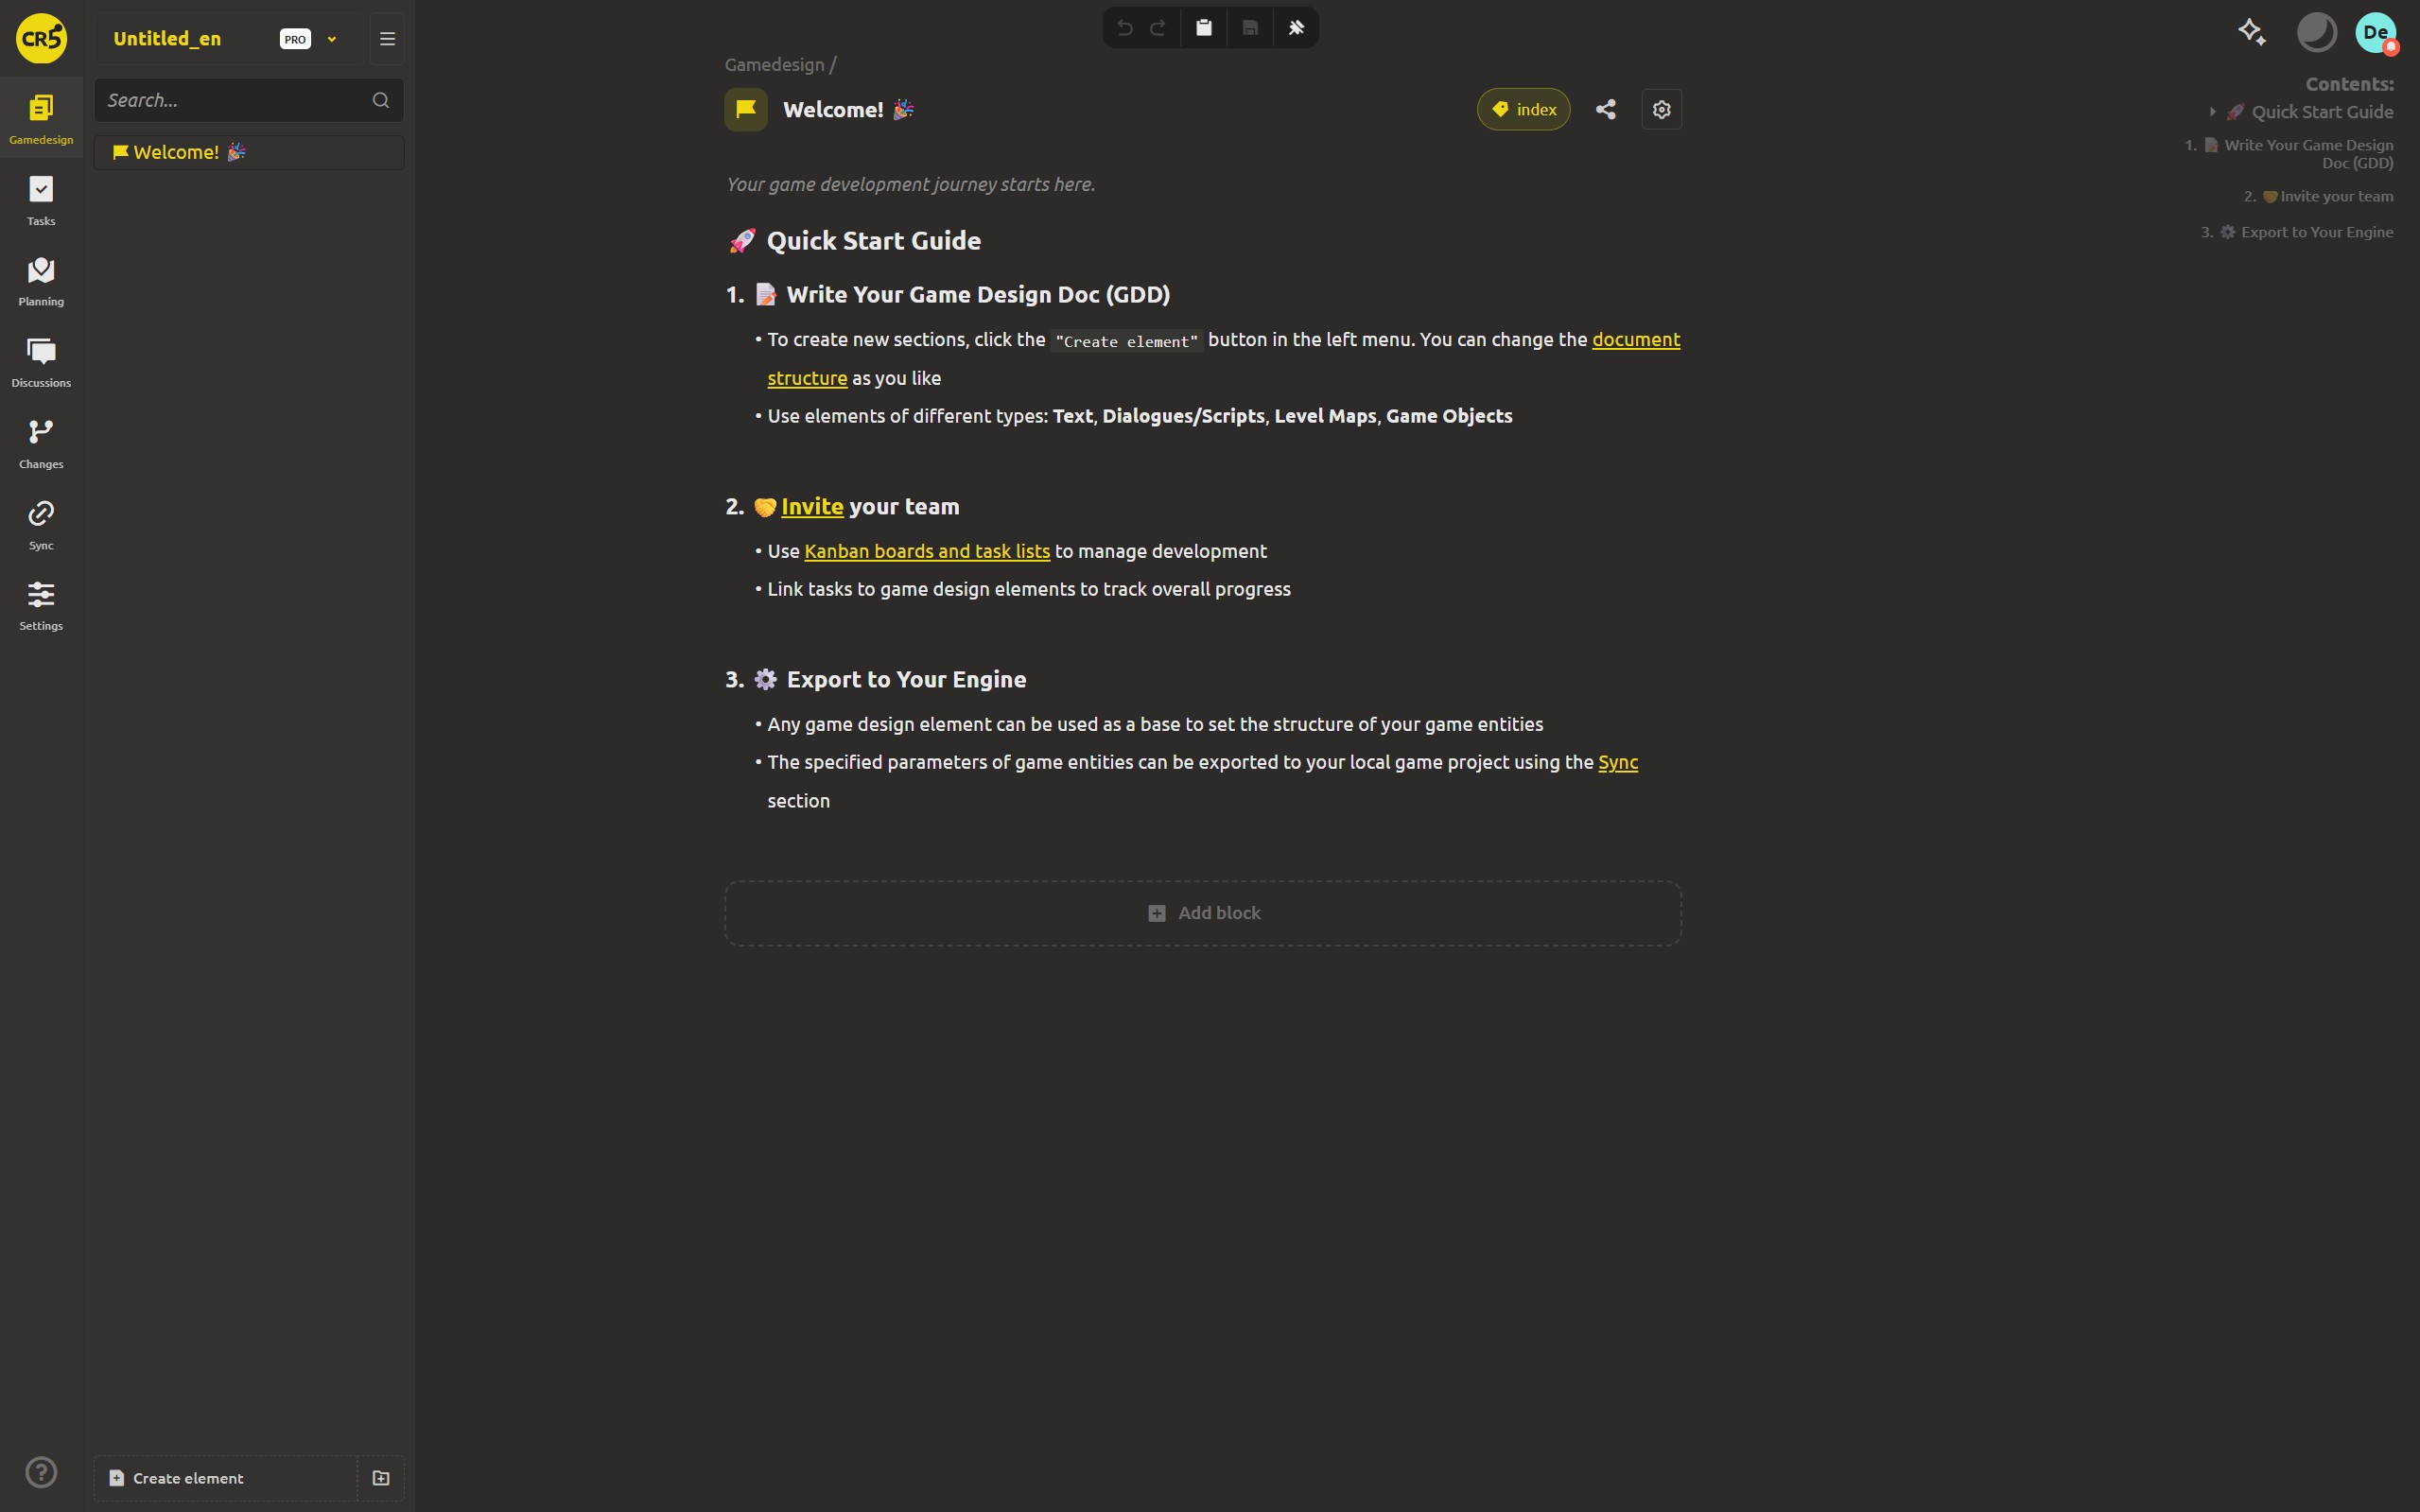
The project root, the thing that ties the project together: folders, elements, typed properties, references.
If you followed the materials of the first month, you are already familiar with what this section can do. Here you can keep enemy rosters with real Health and Damage, card collections you can view as a grid, and an AI assistant that reads and writes the same structure. All of this is built on the same elements and references, and the principle stays the same.
One caveat: your project is empty right now, because you chose "No template" when creating it yesterday. That will change later this week, when we connect your desktop folder and move the local project into the cloud.
Tasks: organizing the team's work
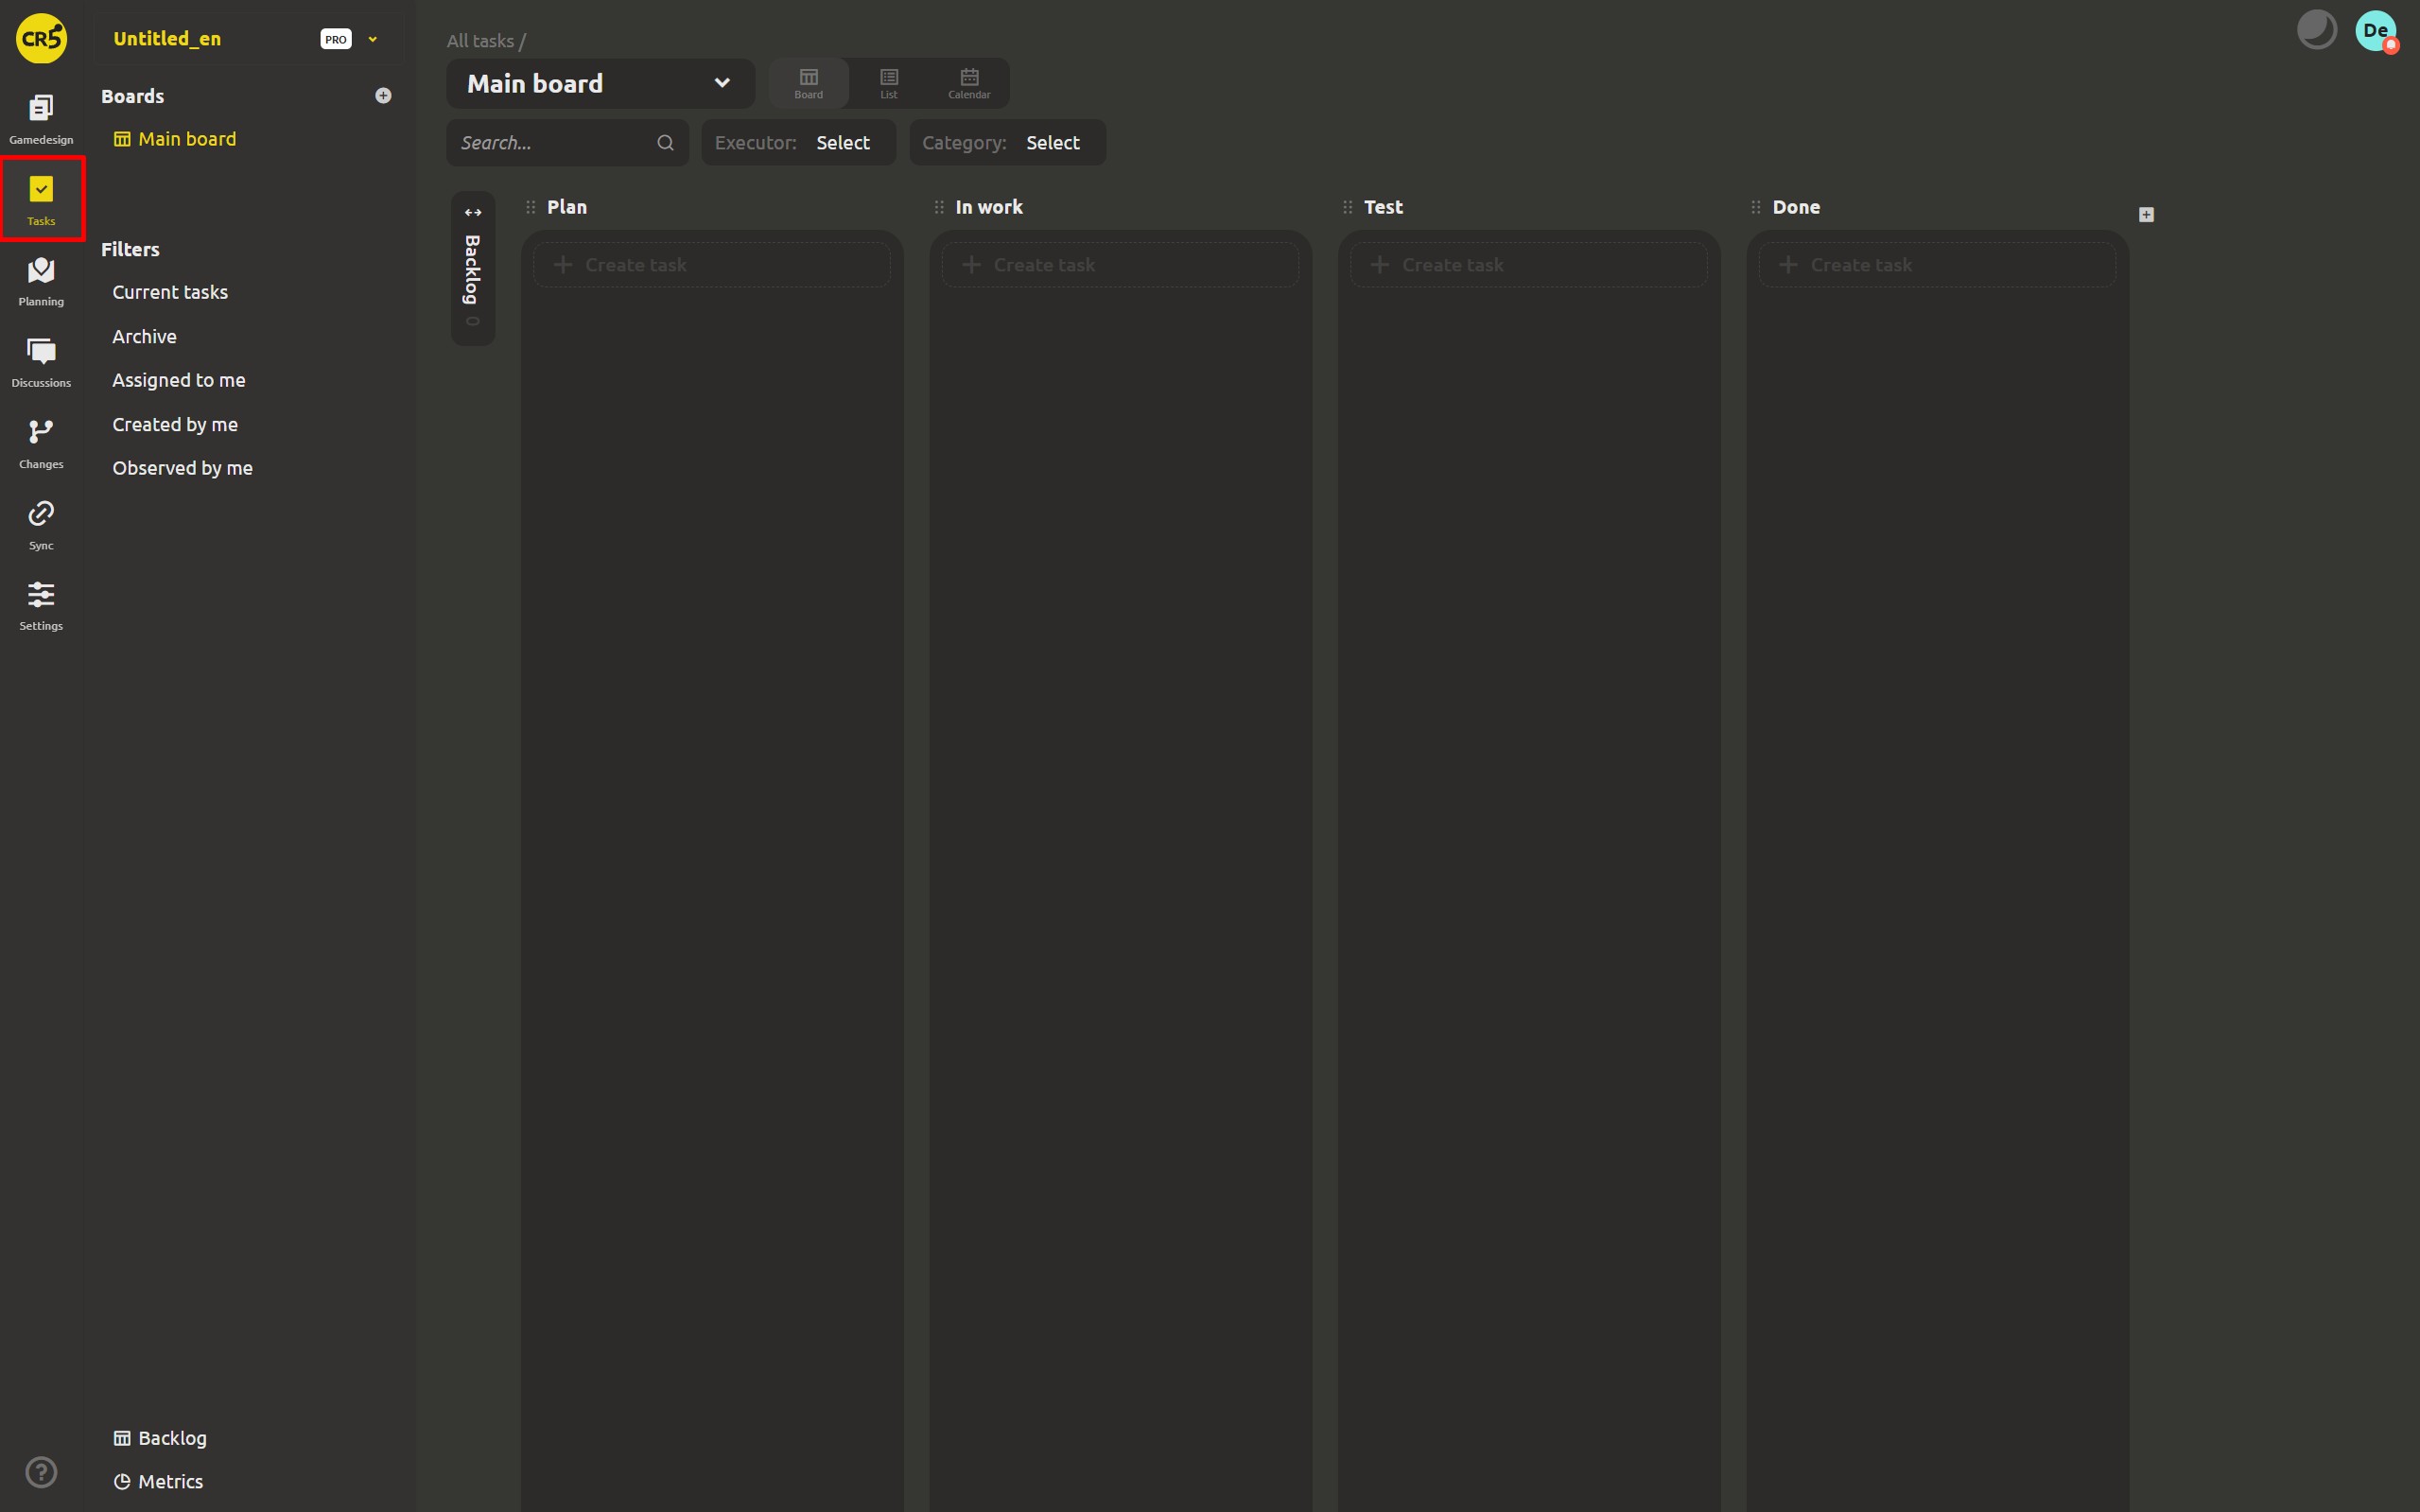
The Tasks section is a kanban board where columns reflect the stages of your workflow and cards represent individual tasks. Create a card, move it to another column and assign an owner, so everyone can see who is working on what and which stage the work is at.
It is important not to confuse this section with game design. In this case you are organizing the work on the game itself: assigning tasks and tracking their progress. We will cover it separately in next week's article.
Covered in Week 2.
Planning
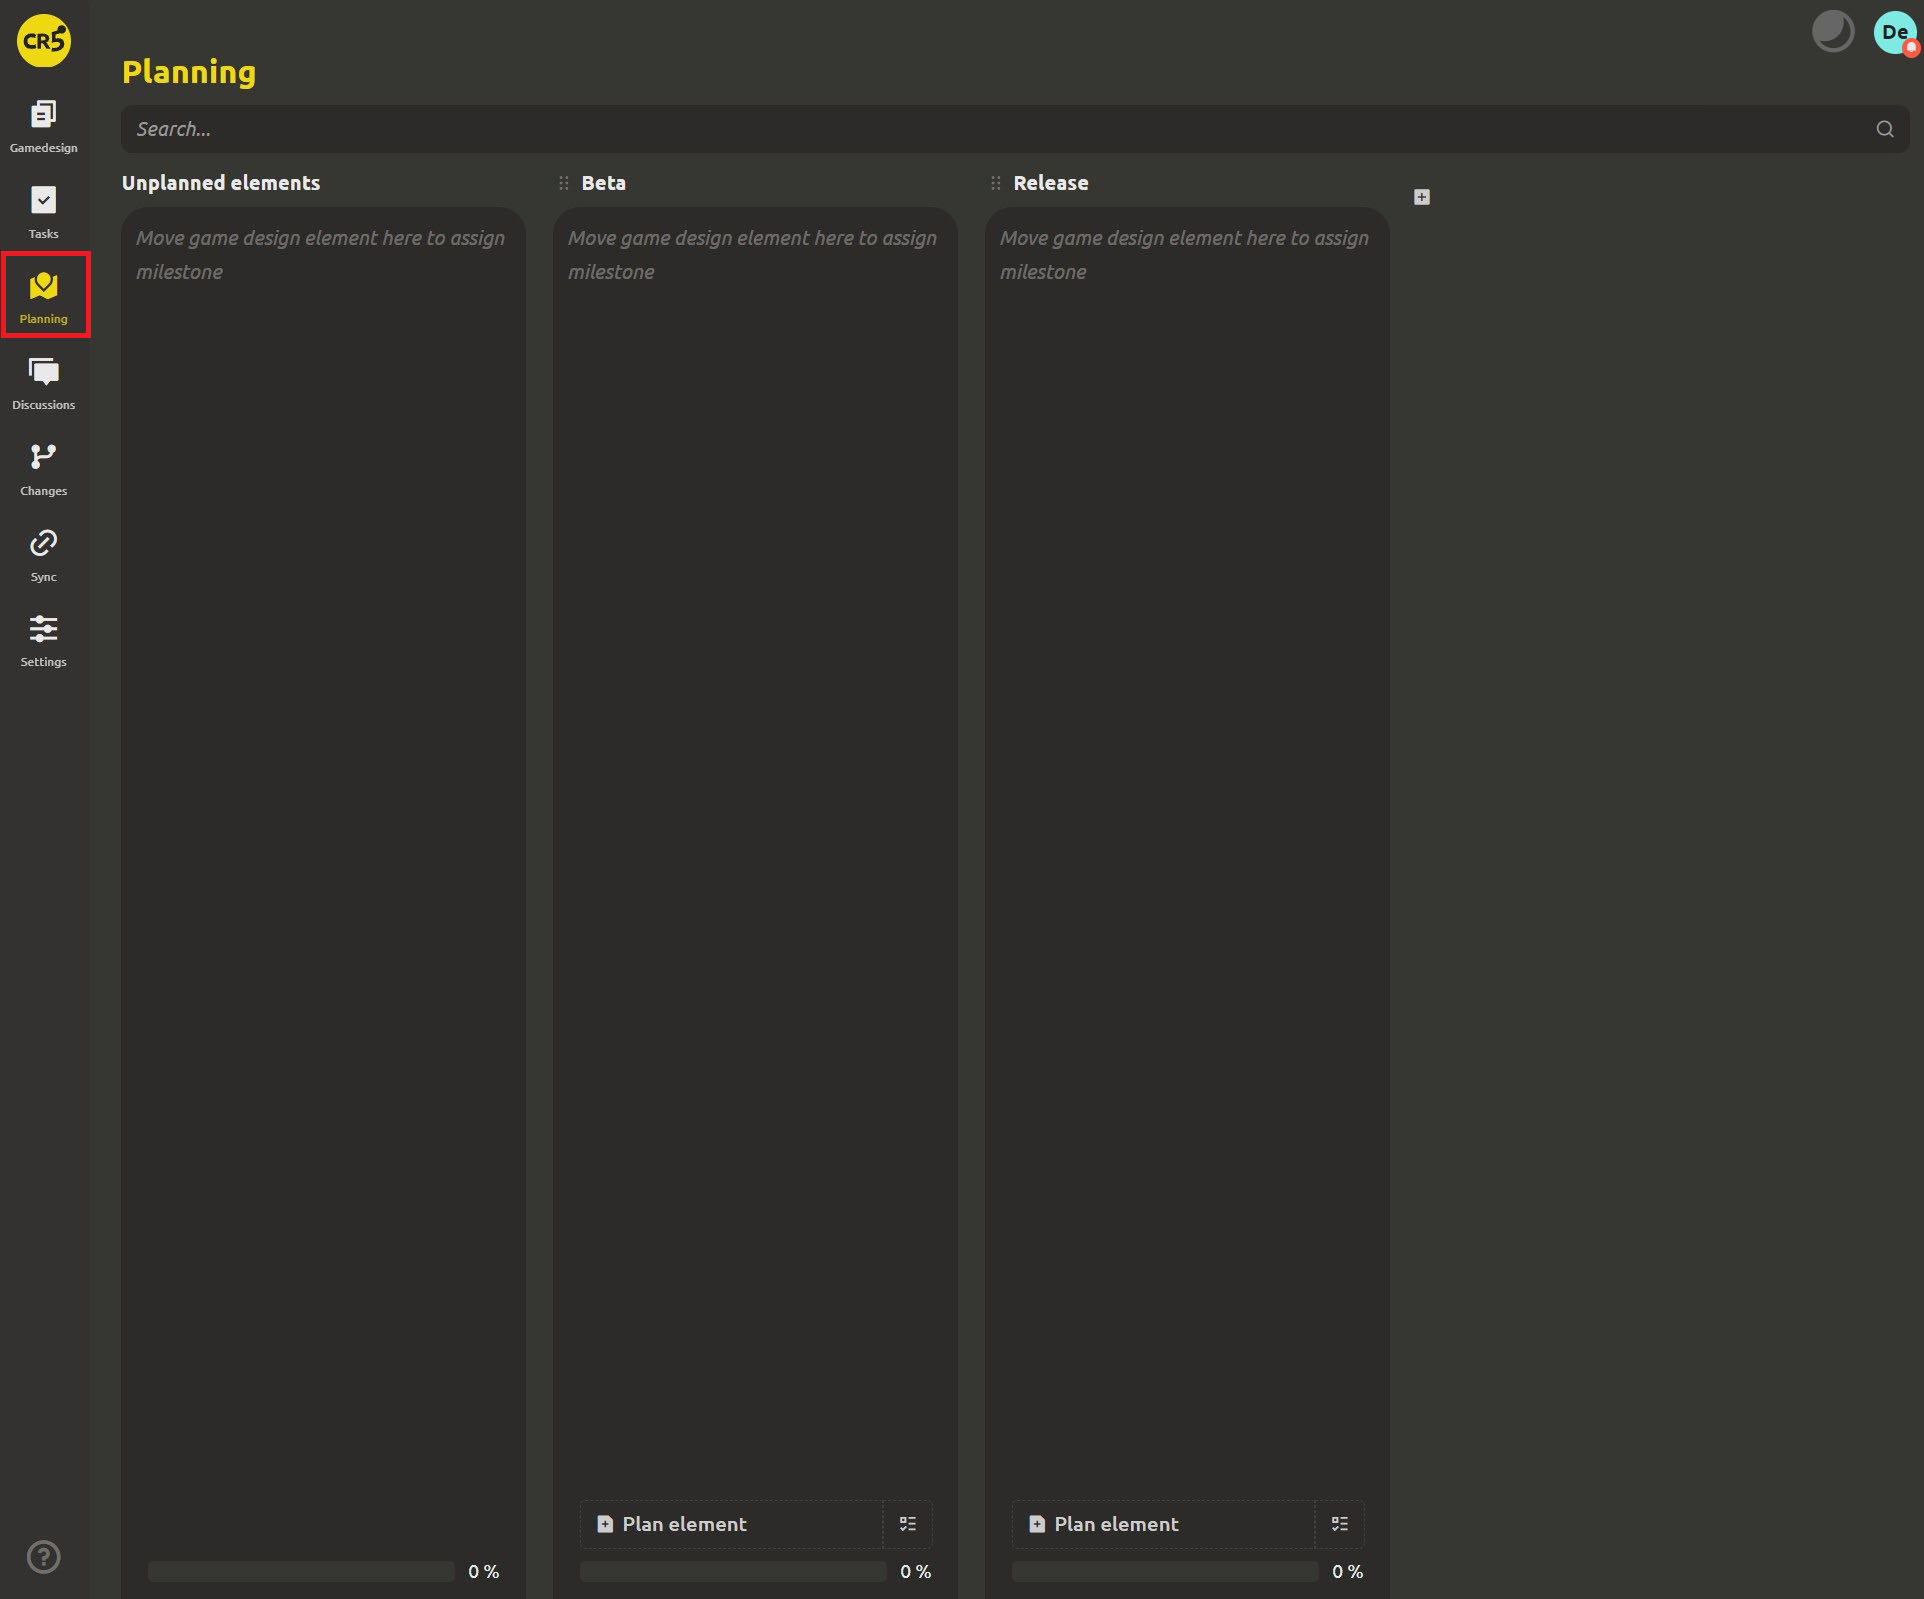
Planning helps answer one of the main questions of a project lead: when will the result be ready? It uses a board with milestone columns that elements tracking the progress of the work are attached to. For each such object a real completion percentage is displayed, calculated from a separate checklist.
Covered in Week 4.
Discussions
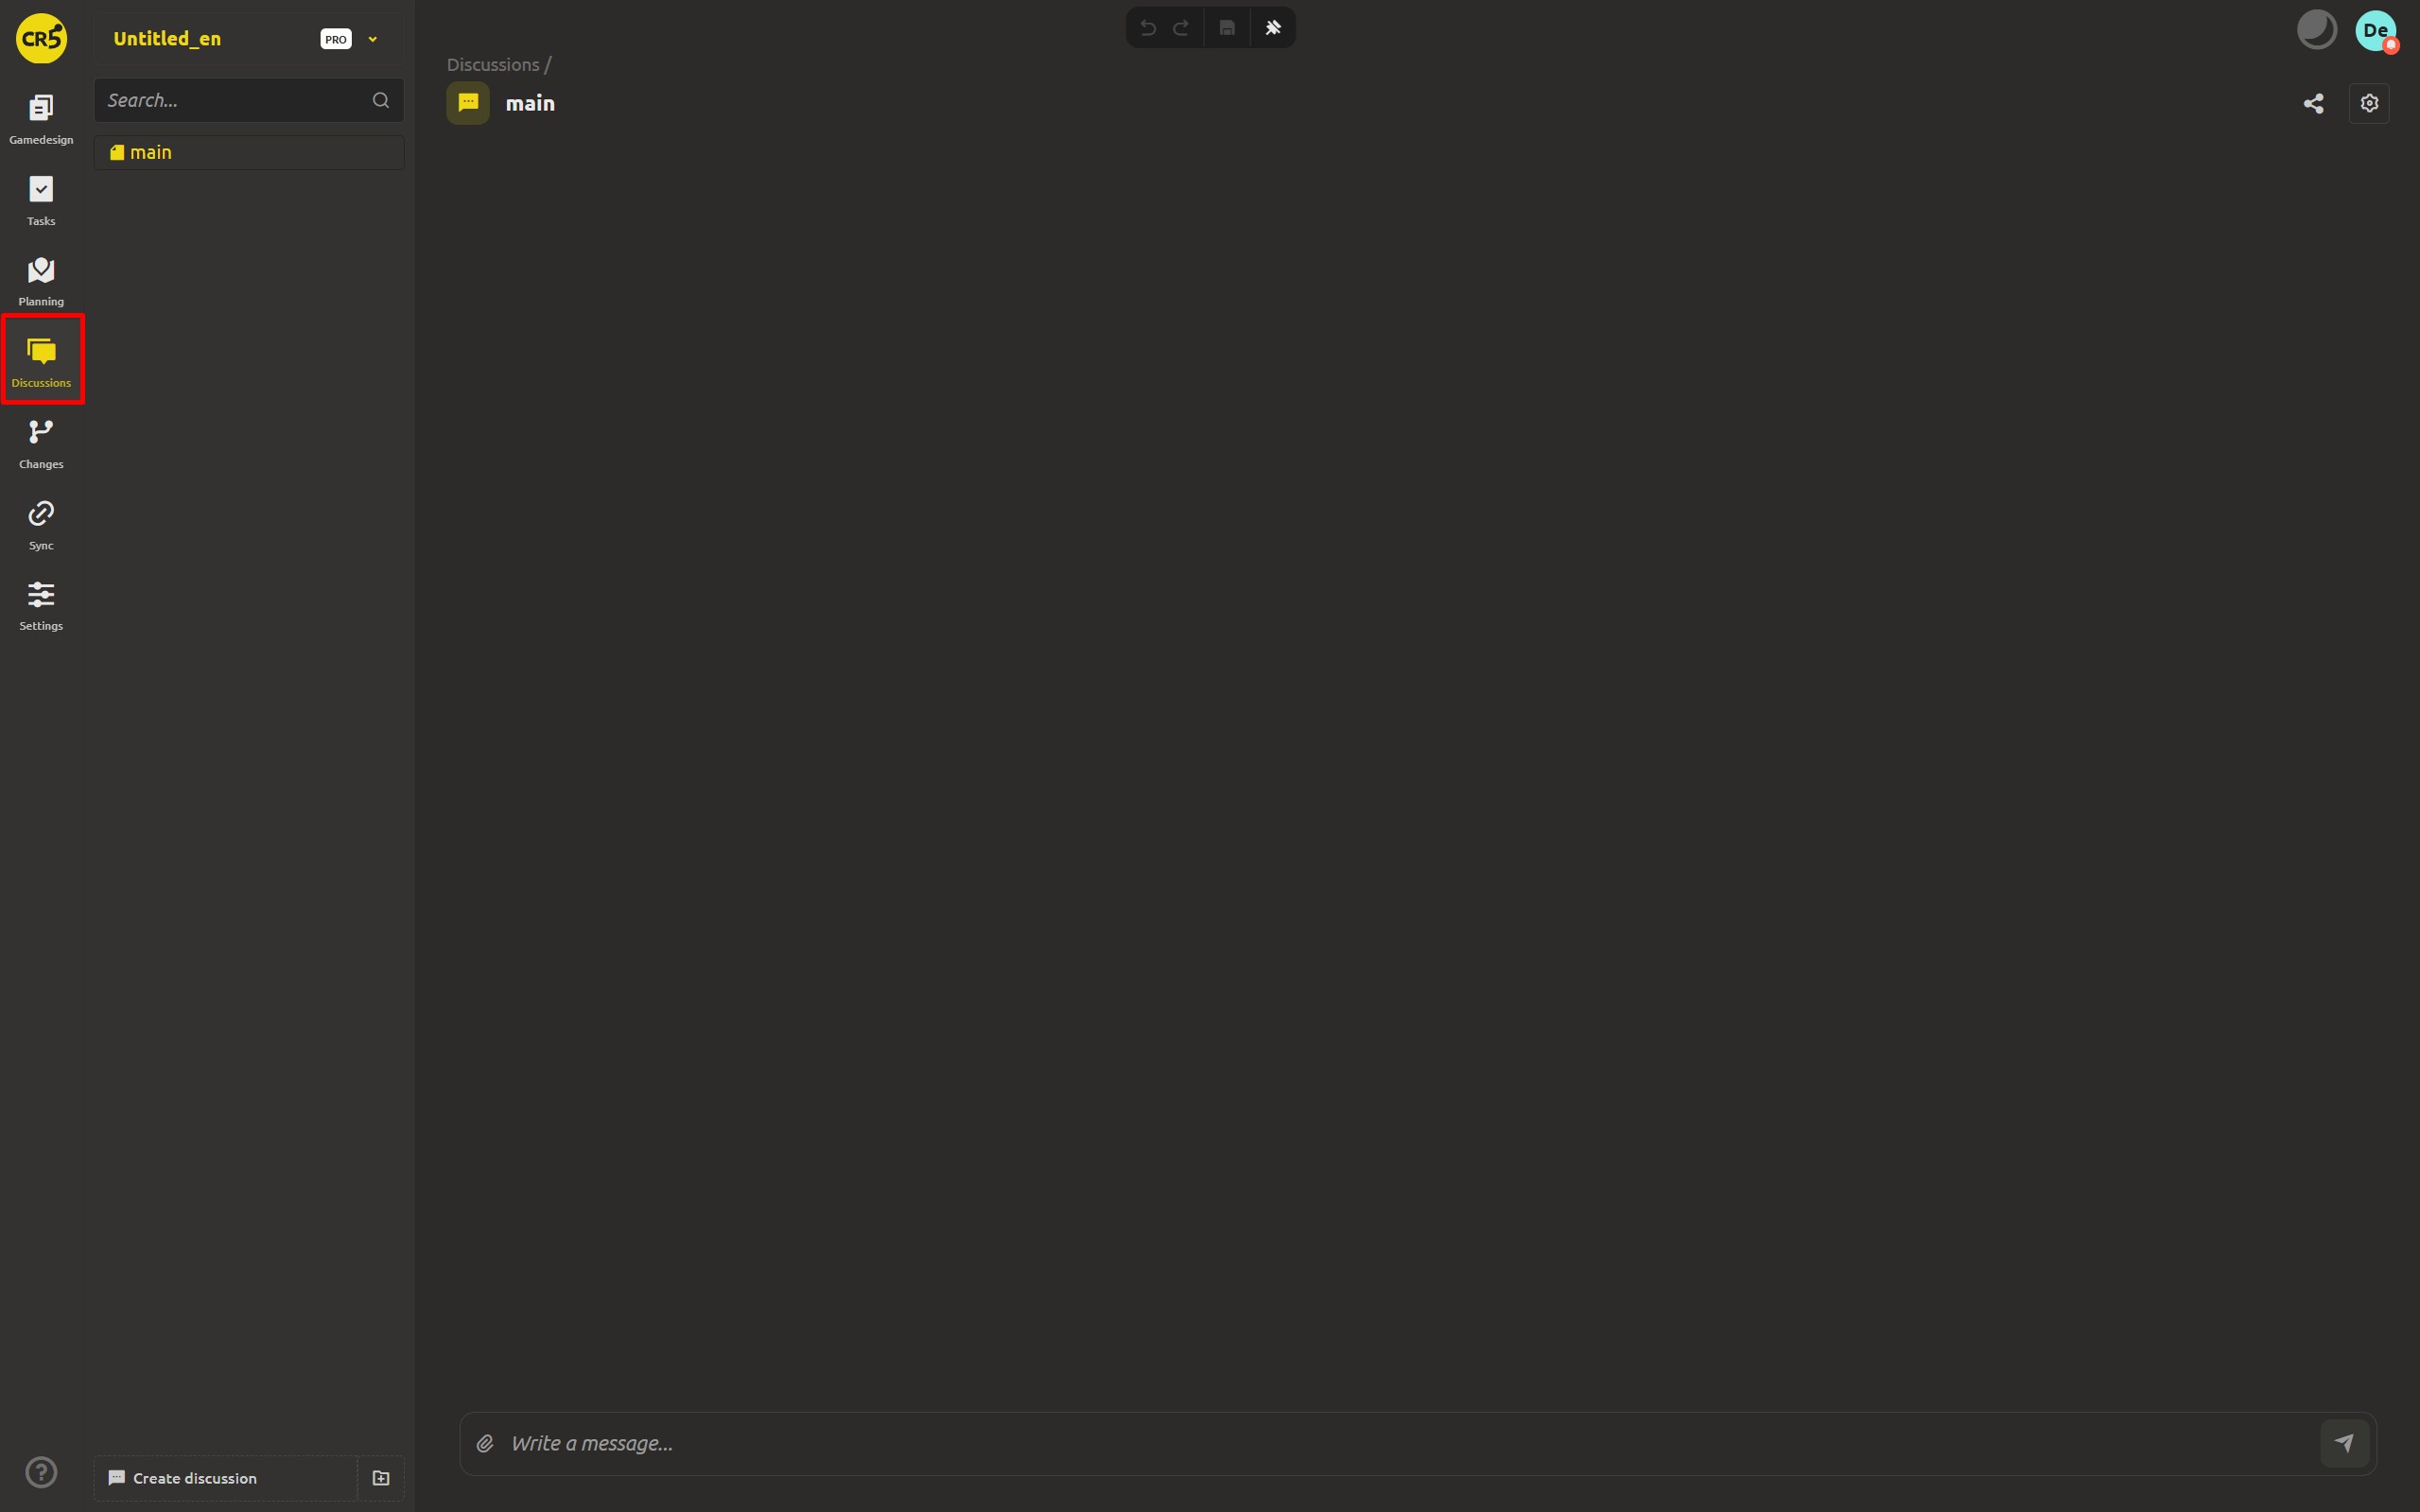
In the Discussions section you can hold project-level conversations and attach threads to specific materials. This way decisions don't get lost in the endless back-and-forth of a messenger.
Covered in Week 2.
Changes
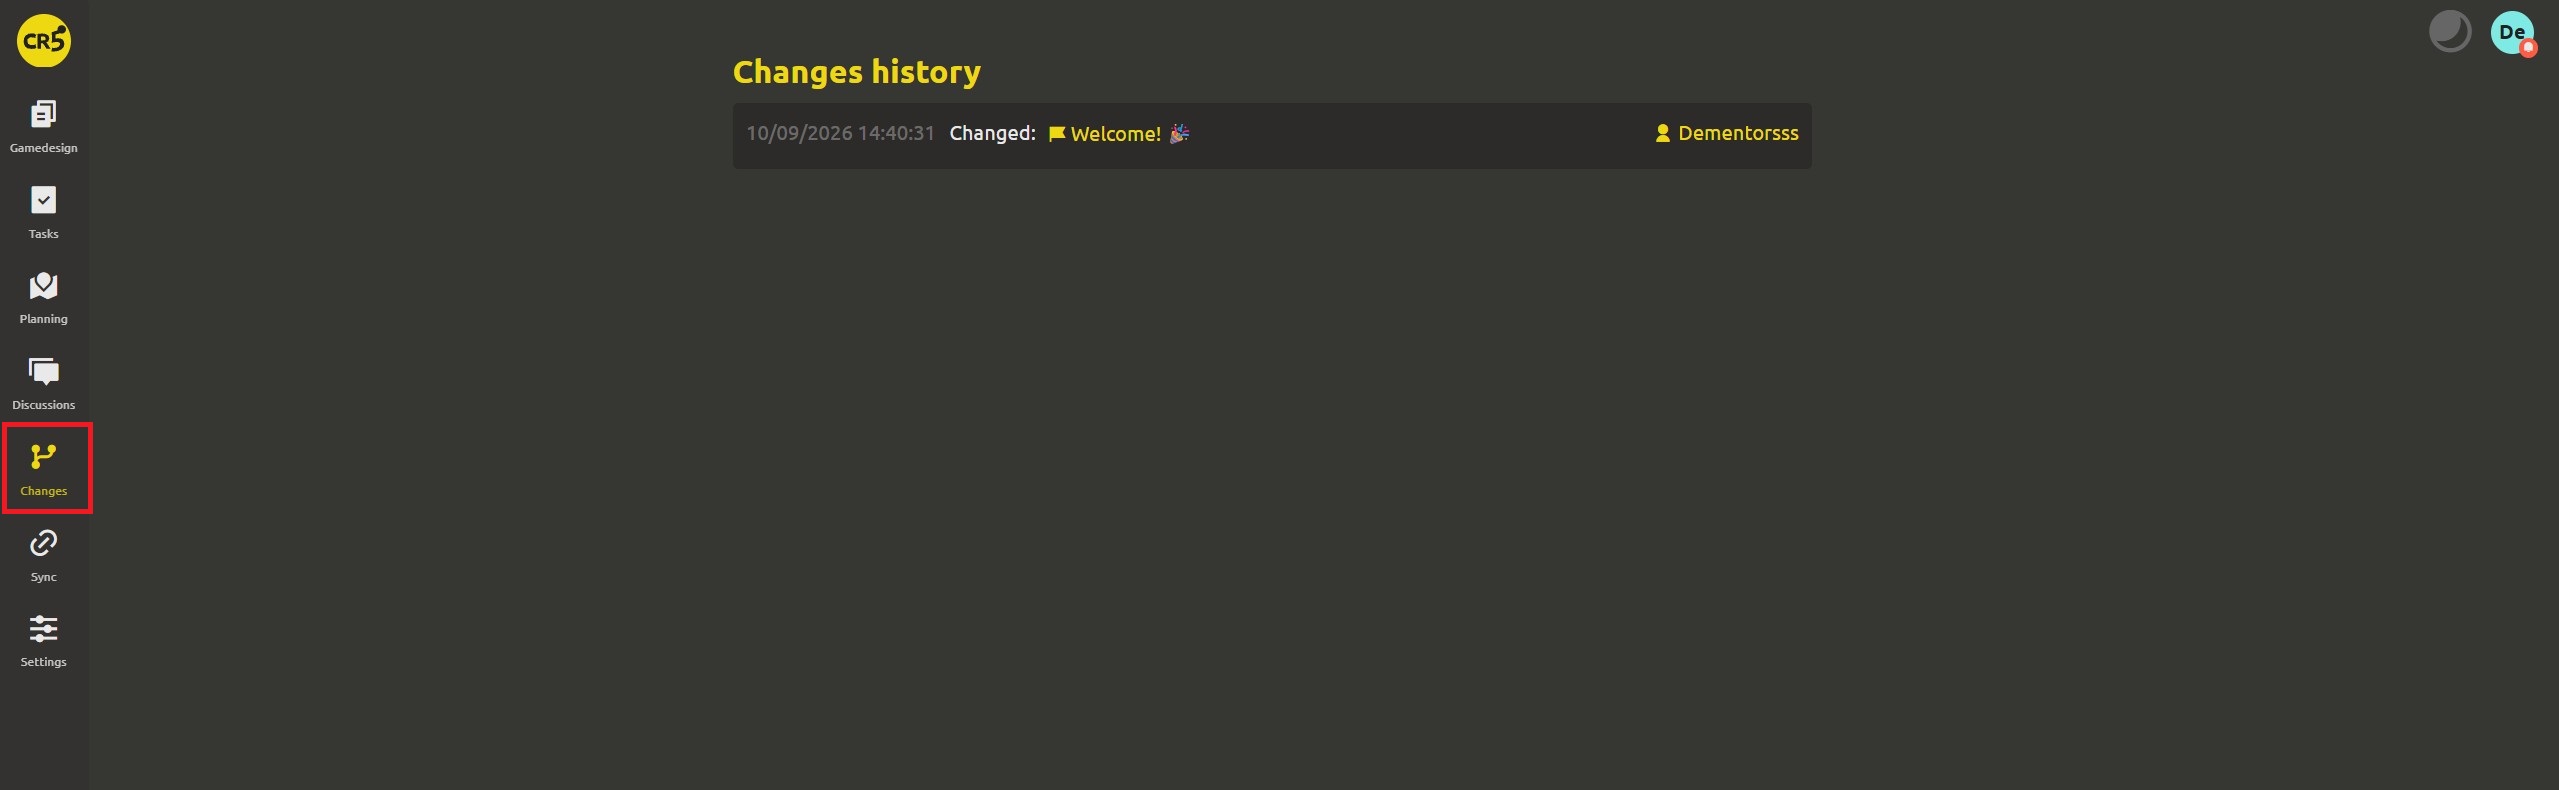
The Changes section stores the history of edits in the game design: here you can see who edited an element, what exactly was changed and when it happened. If you suddenly notice that a parameter value has changed, you won't have to reconstruct events from chat messages - just open the history.
There is no need to switch this on separately: every new cloud project already keeps a change history from the very beginning. Traces of edits are kept from day one.
Sync with the desktop app
The Sync section is primarily there to take you to the desktop version of IMS Creators. On this page you can synchronize the local project and the cloud one.
We will look at this in more detail in the upcoming Day 4 article.
Settings: access, roles and project parameters
Settings holds the project parameters. The main tabs are:
- General info — here you can change the project name and the basic information about it.
- Team — the list of project members.
- Rights and roles — settings for which actions are available to each member.
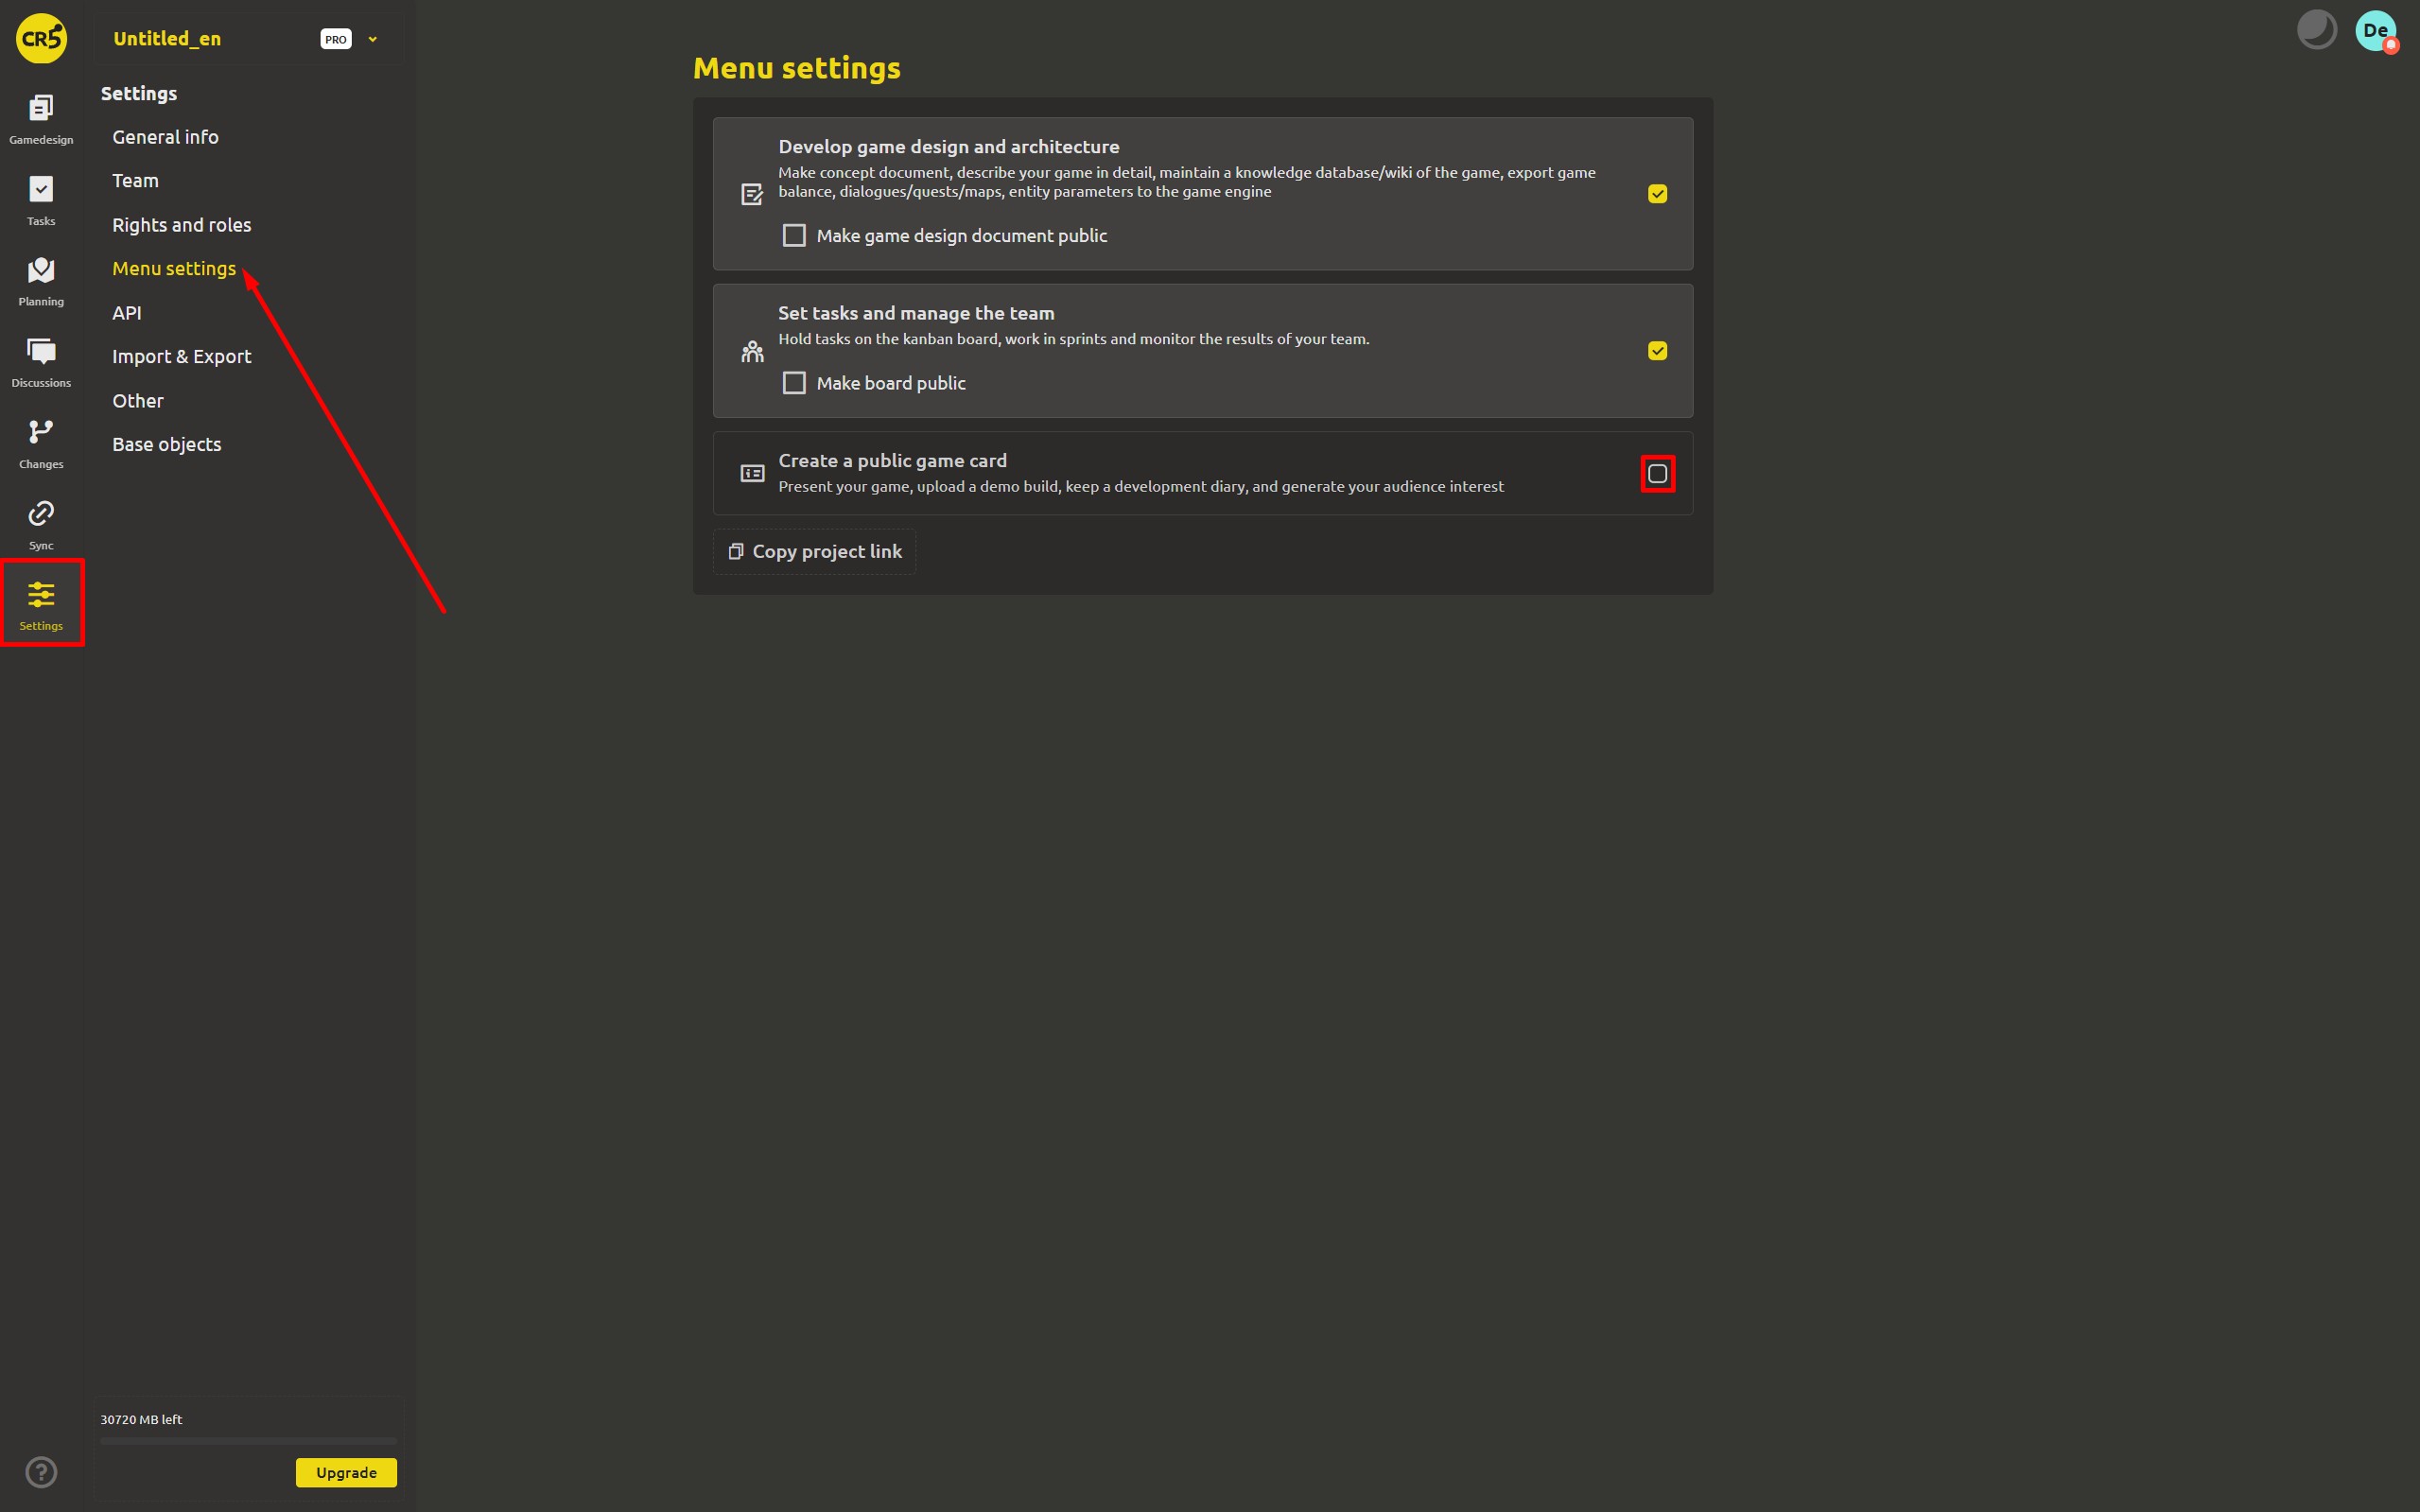
- Menu settings — manage the visibility of sections, including enabling the public game page "About".
- API — API access for integrations with other tools.
- Import & Export — loading data into the project and exporting it out.
- Other — the remaining project parameters.
- Base objects — ready-made objects that help you organize game design faster.
We will dedicate a detailed article to each section.
About: turning on the public page
We enable the About section in settings (by default it is off).
This turns your project into a public showcase for your game. Here you can place a game card, a demo build, a development diary and information about the team.
To turn the page on, open Settings → Menu settings and enable "Create a public game card". Just a couple of clicks, and the section appears in the project.
What's next: inviting the team
A project becomes truly useful when the whole team can work in it. So tomorrow we will show you how to invite your team with one link.
Try it now: open each section of the project and use it together with your team!
FAQ
What is the difference between the Gamedesign section and the others?
Gamedesign is the foundation of the project, where the description of the game itself and its related data are stored. The other sections help organize the work around it: assigning tasks, planning stages, discussing decisions, tracking changes, setting up sync and managing project parameters.
Which sections does a cloud project have?
By default seven sections are available: Gamedesign, Tasks, Planning, Discussions, Changes, Sync and Settings. In addition, there is an About section, but it stays switched off until you activate it yourself.
How do I turn on the public game page?
Go to Settings → Menu settings and enable "Create a public game card". After that the About section appears, where the public game card, demo build and development diary are placed.
Why does the desktop app have fewer sections?
The desktop app is a game design editor that works with local files and is designed to work without an internet connection as well. That's why its menu focuses on creating and editing the design. The collaboration tools - the task board, planning, change history and team management - are available in the cloud space, where members can work together.
Can I use only the desktop app?
Yes. The desktop app fully works with local projects even without an internet connection. And if you later need the cloud tools for collaboration, you will be able to link the local project to the cloud using sync.