
This tutorial is a part of the Getting started series — Day 3, Week 1, Month 2.
The problem: the link you need is lost somewhere in the chat
You have already sent the roster link to three different chats, the artist left screenshots in a separate discussion thread, and the latest balance fix is lost among dozens of messages. Everyone seems to be working on the game, but each person may be relying on their own version of the materials.
Game design needs a permanent home where the current state of the project is kept. When you move the work into a shared project, you no longer have to forward files and work out which version is the latest: the team works with the same data.
How to invite colleagues to the project
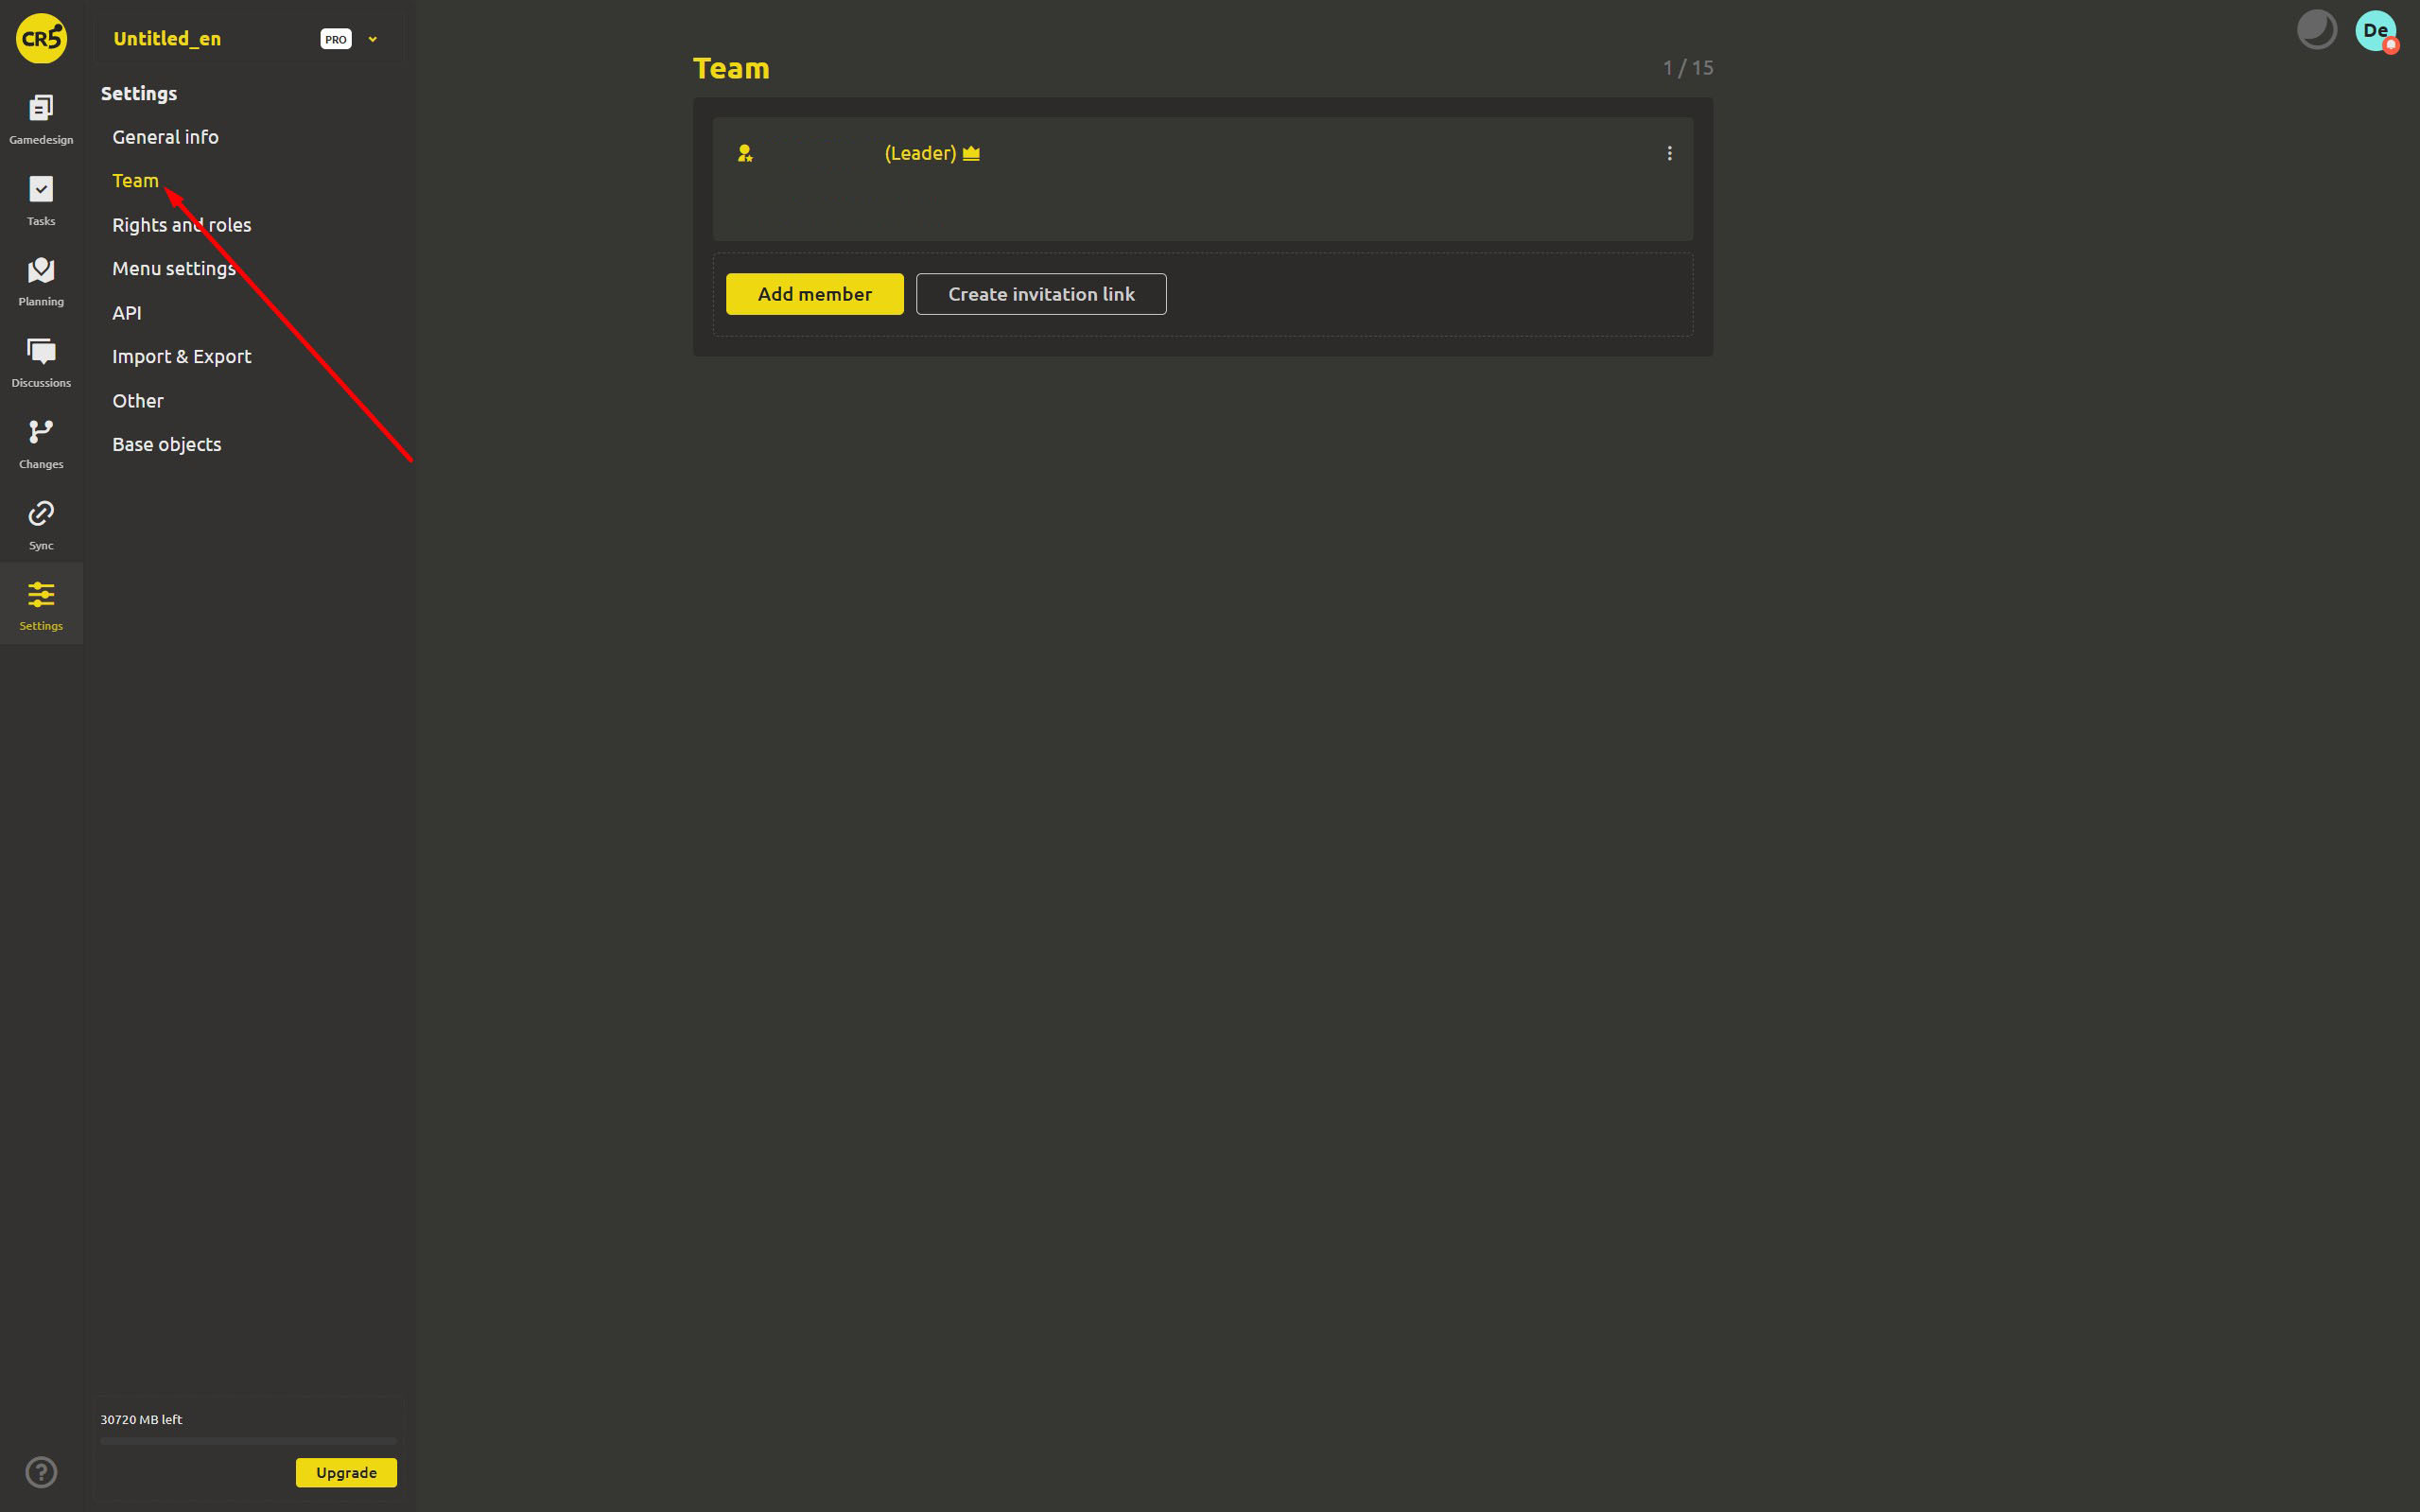
All invitations live on the Team page, which we met during yesterday's tour. There are two ways to add a person, and both let them work directly in the project rather than keeping a separate copy of the files.
By email
Click Add member - a field opens with the hint "Enter one or more emails:". You can paste several addresses at once in any convenient format: if there are duplicates, the app removes them for you.
Then click Invite. Each address listed receives an invitation, after which your colleague can sign in and join the project.
By invitation link
If it is easier to send the invitation straight to a shared channel, use the Create invitation link button. The URL copied to your clipboard can be sent to any social network.
That way you can quickly share access with the team without sending archives and separate copies of the materials. One link takes your colleagues into the shared project, where they can work with the current data.
What the invited colleague sees
To join the project, the person needs to sign in to an account, accept the invitation and choose the name the other members will see them by.
This name matters not only for the profile: it will be shown on task cards, in discussions and in metrics reports.
How many members you can add
The Team page shows how many seats are already taken and how many are available in the workspace. Cloud access is calculated by the number of members, so as the team grows you can buy additional seats. If someone leaves the project and a seat is no longer needed, it can be released, and the rest of the project settings stay unchanged.
There is one feature worth keeping in mind: seats are tied to the workspace, not to an individual project. For example, if you bought five seats, that limit applies to all the projects in your workspace. You don't need to buy five seats for each project or divide them between projects.
Important: if the subscription ends, the cloud workspace stays available in read-only mode so you can export your data.
The invited colleague will also see a message if the project has no free seats left: "The project has already reached its maximum number of members. Please contact your project administrator".
Finally, access can be managed: an invitation can be revoked on the team page, and members can leave the project themselves. Everything is under your control.
Invite people and set their roles
The invitation itself gives the person access to the project, but what they can do depends on the role assigned to them. By default an invitee gets the Member role unless you change it. IMS Creators has two roles by default: Member and Leader. In settings you can add your own roles and configure access for them.
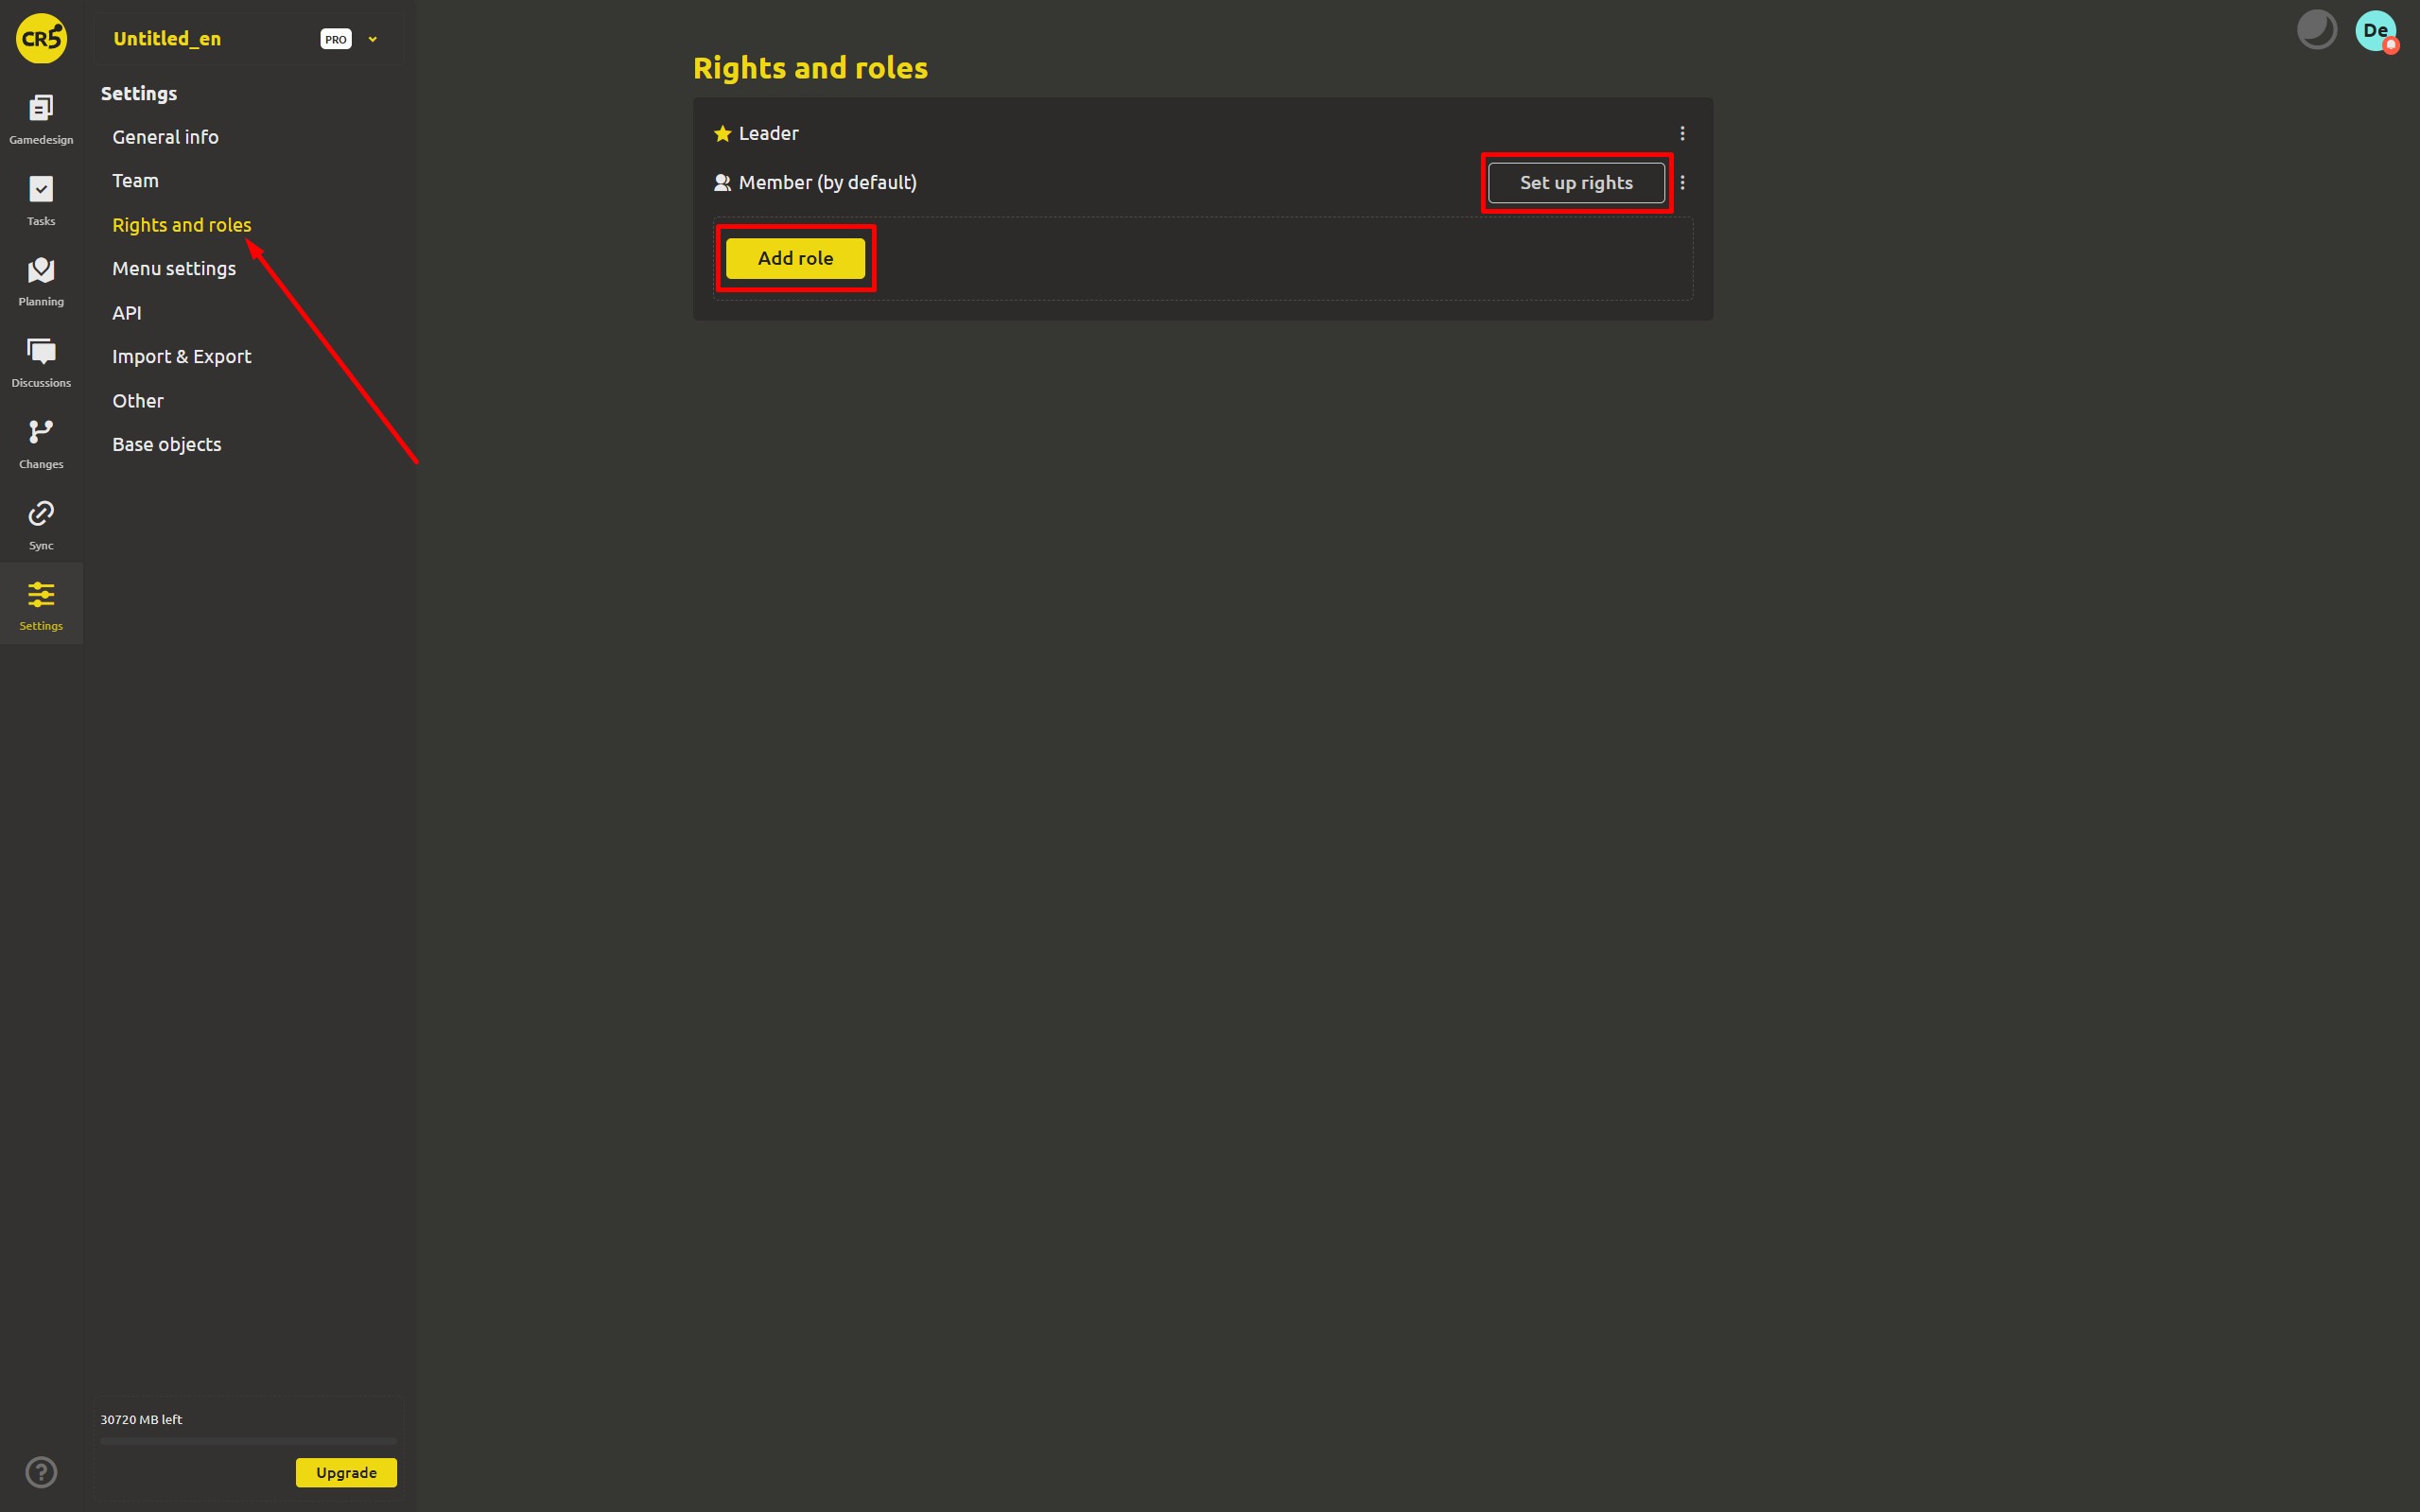
We will talk about roles, workspace rights and choosing the default role in more detail in upcoming articles.
What's next: connecting the local project to the cloud
The team is now gathered in one workspace, but the game design itself may still be sitting in a local folder on your computer. Next we will show you how to connect the desktop project to the cloud project, so the materials you have already created appear where you work together with your colleagues.
Try it now: open the "Team" page, click Create invitation link and send it to a colleague who has not seen your project yet. That way you can start collaborating without sending files around and without version confusion.
FAQ
How many people can I invite?
Cloud access is sold per seat: the PRO workspace is $4/mo per member with a 30-day free trial. The team page shows the current count, and seats can be added or removed at any time. The local desktop app is free forever and needs no account.
Do I need an account to accept an invitation?
Yes. To accept an invitation you need to sign in to an account; the app will say: "Sign in to accept the invitation".
Can I invite several people at once?
Yes. The Add member field accepts one or more emails, so you can paste the whole list in. Each address receives its own invitation, and you can revoke it if needed.
What is the difference between a member and a guest?
A member is a person who has been assigned a role in the project. "Guest" is the most limited role, used as the base variant rather than a separate type of invitation in the members list. The available actions are determined by the rights configured for the workspace.
Can I leave the project while I am the only Leader?
Not while you are the only Leader. The Exit project option only appears once another member has the Leader role: assign it to someone else and you can leave.