# Blocks
You can create blocks of different types inside the elements:
- Text
- Checklist
- Property sheet
- Gallery
- Diagram
- Embedded document
TIP
Within each of these blocks, you can use links to project elements. To do this, enter "no." or "#" (depending on the keyboard layout), and then select an item from the drop-down list.
# Text
You can place text, pictures, and GIFs in the Text block. Using the editor, you can format the text:
Ctrl + B- bold textCtrl + I- bold text- "Heading 1"
- "Heading 2"
- "Quote"

# Checklist
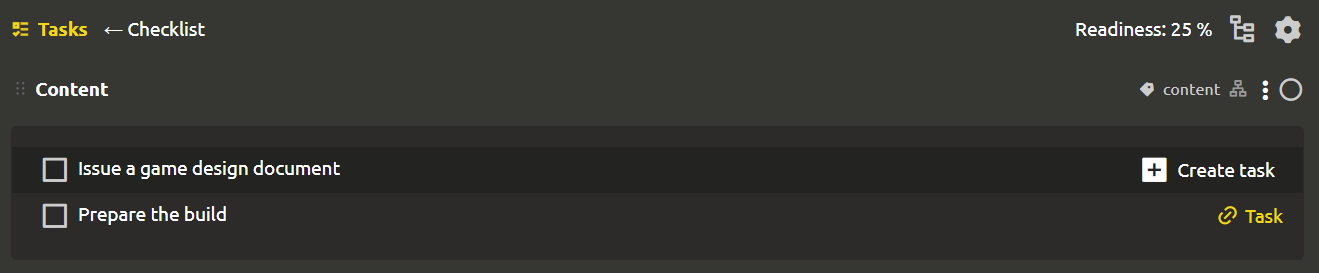
In the Checklist block, you can place tasks that need to be completed.
To create a new task, press Enter.
If the task is quickly achievable, then after completing it, you can mark it with a green check mark by clicking on the gray circle on the left.
If the task is important and takes a lot of time, it can be placed on the task board. To do this, click on the + Create task button, which appears when you hover over one of the items on the checklist. In the window that opens, you can configure the task settings.
TIP
Learn more about the tasks in the next section.
# Property sheet
There are 2 columns in the Property sheet block. The name of the property is entered in the left column, and the value is indicated in the right column. To add a new property, you can click on the + to the left of the property name or on the dots to the right and `Add property after' in the drop-down list. To delete it, click on the dots and select the appropriate item.
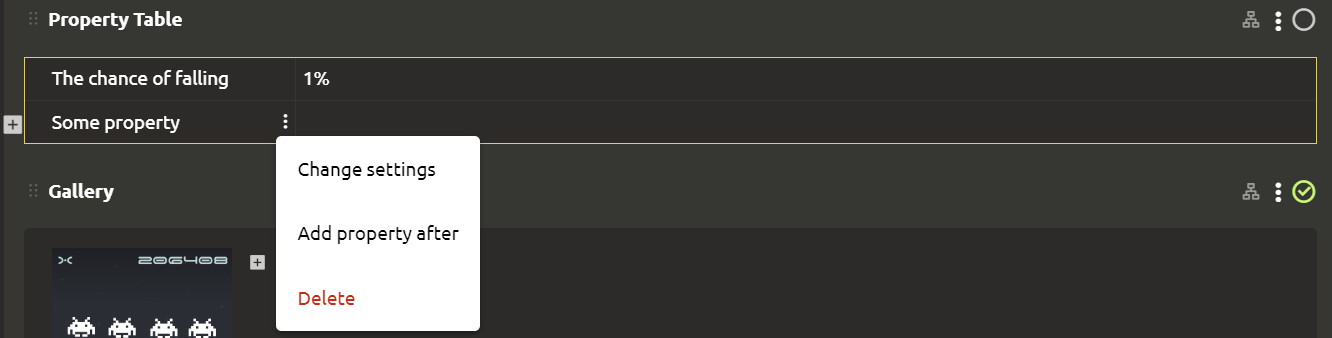
The properties can be `changed' by clicking on the dots on the right. A tab opens on the right with a selection of parameters:
Field type'. The field can be of the following types:String,Number,Text,Checkbox,Date picker,Select file,Structure,Enumeration,Enumeration (radio-buttons)'.Is multiple. If a property can have multiple values, then you need to check the box.Order'. Contains 2 buttons:UpandDown`, used to change the order of properties.
# Typed tables
In IMS Creators, when creating a table of element properties, you can specify the types of fields. This will reduce errors when filling in data, and also open up the possibility in the future to upload completed properties of characters, items, abilities, etc. from IMS Creators directly into your development environment.
Setting up the types of fields in the table, multiple values To adjust the fields, click on the 3 dots shown on the right when hovering. The right menu opens, in which you can specify the type of the field from the drop-down list: string, number, text, structure, enumeration and more:
TIP
For more information about structures and enumerations, see the "Structures and Enumerations" section.
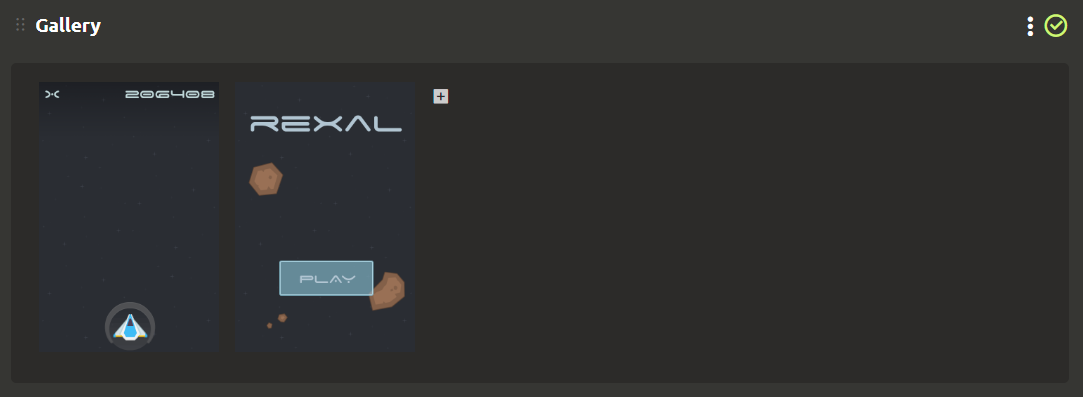
# Gallery
In the Gallery block, you can add files from your computer (pictures and videos) and links to videos. To add it, use the + located inside the block. You can control the order of the images by grabbing one of the elements and dragging it to the desired location.
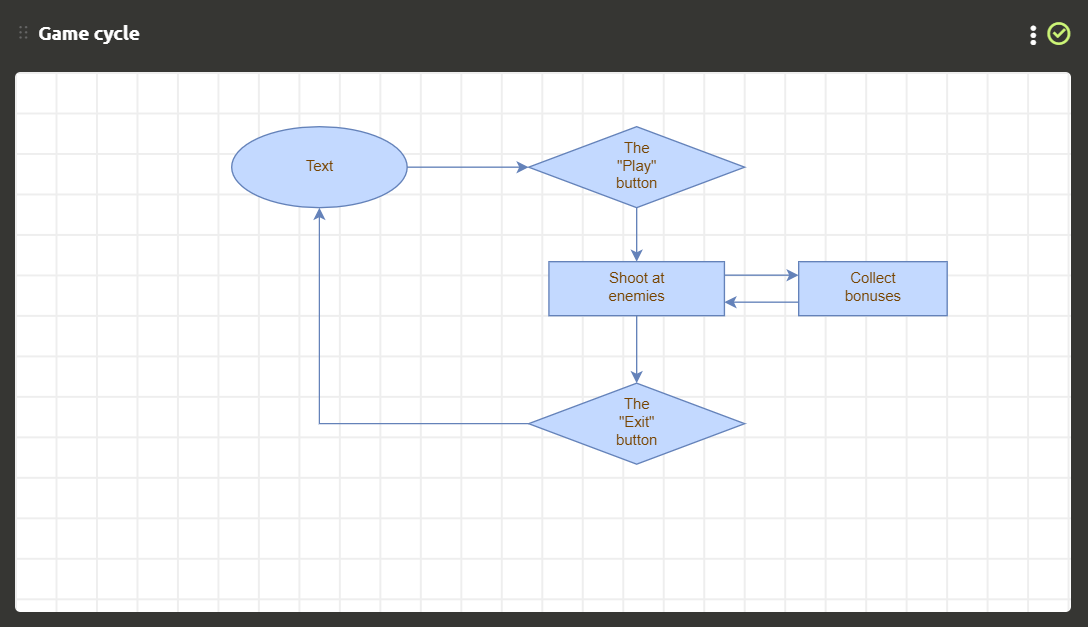
# Diagram
You can add text, rectangles, ovals, rhombuses and other shapes to the Diagram by connecting them with arrows.
Diagrams can be used to visualize:
- a tree of skills/improvements/technologies,
- storyboards,
- logic of quests, dialogues.
Moreover, not only text can be inserted into the nodes of the scheme, but also links to other elements of the game design document via # or No. It turns out an interactive map that will facilitate navigation through the document.
Like other blocks, flowcharts can also be inserted into tasks, which will help you set them correctly, describe the necessary algorithms, design the architecture, and much more.
There is a high probability that you will like the graphic editor so much that you will no longer want to leave IMS Creators to sort out your thoughts.
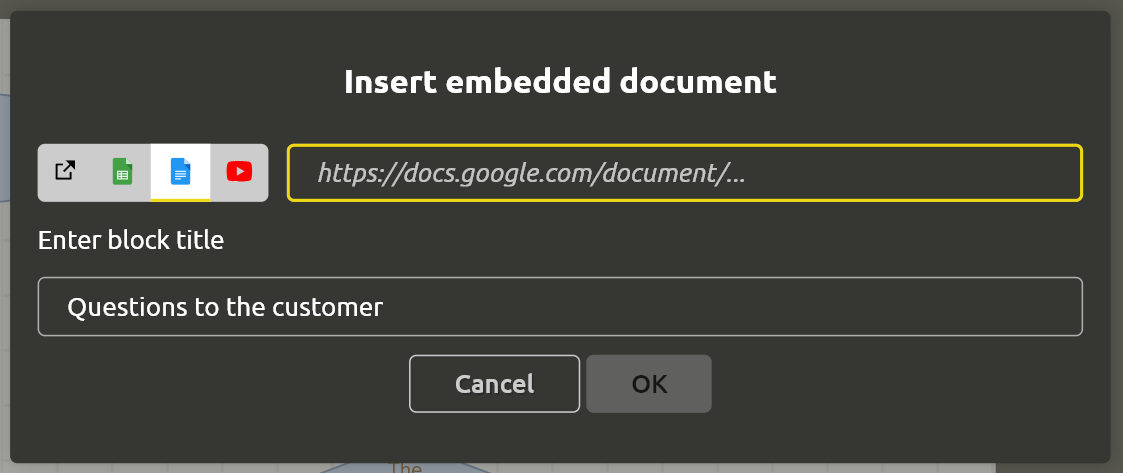
# Embedded document
The embedded document can be: Google Spreadsheets, Google Docs, Youtube. To create a block, you must enter a link to the document and the name of the document.
You can work with the document without leaving IMS Creators. All functionality is preserved.