This tutorial is a part of the Getting started series — Day 4, Week 1, Month 2.
One project, two ways to work with it
First you created a cloud project, then you invited the team. Now your colleagues can already open the workspace, but they still see an empty project there: the whole game design - the enemy roster, the card collection and the results of the past month's work - is still stored in a local folder on your computer.
You could email the files again, ask someone to upload them to the cloud by hand, or try to maintain two separate copies. But each of these options adds extra steps and raises the risk of confusion. There is a simpler solution: connect the local project to the cloud project.
Let's look at the Dead Mall example: the Dead Mall project we created in the first month (DeadMall/ with the Enemies, Cards, Characters folders and the Godot auto-export) is connected through the Synchronize with cloud command. After that the same data appears in the cloud project you created at the start of the week.
Important:
- Files are not converted or imported. There is no separate import format, and the structure does not turn into plain text. The same
.mdand.jsondata becomes available through the cloud as well. - The local folder stays where it is. You are not uploading files in place of the original project or creating yet another copy to maintain. It is still the same project, which you can now reach through the cloud workspace as well.
What exactly gets synchronized
Sync works only with the game design - the Gamedesign (gdd) section. It keeps folders, elements, typed properties, references and workspaces consistent between your local folder and the cloud workspace. Other data is not part of this process.
The desktop app has only the Gamedesign section, and sync helps keep it up to date on both sides. The collaboration tools - such as the task board, discussions and planning - stay in the cloud workspace.
The key point is that the design already stored on your computer becomes available to the team in the cloud. You don't need to move it by hand or create a separate version just for your colleagues.
Three connection scenarios
The connection process itself is the same in every case - only where you start differs.
1. Desktop app first, then the cloud - as in the Dead Mall project.
You keep the files yourself, you can work offline and track your history in git. The cloud workspace is connected when you need to give other members access to the project.
2. Cloud first, then the desktop app.
You start in the browser and connect a local folder later, when someone needs to work with the files on a computer or use a game engine.
3. Connecting to an existing cloud project.
If the team already works in the cloud, a game designer can connect their local folder to that project. There is no need to create a second project: just pick the existing one so everyone keeps working with the same data.
In all three scenarios the local folder stays on your computer, and you can still track its changes in git. Now you can share your project freely with any new participants: a colleague, an investor or another interested user.
Connecting the project step by step
- Open the project you need in the desktop app. In the top-right corner of the header, click the Sync icon.
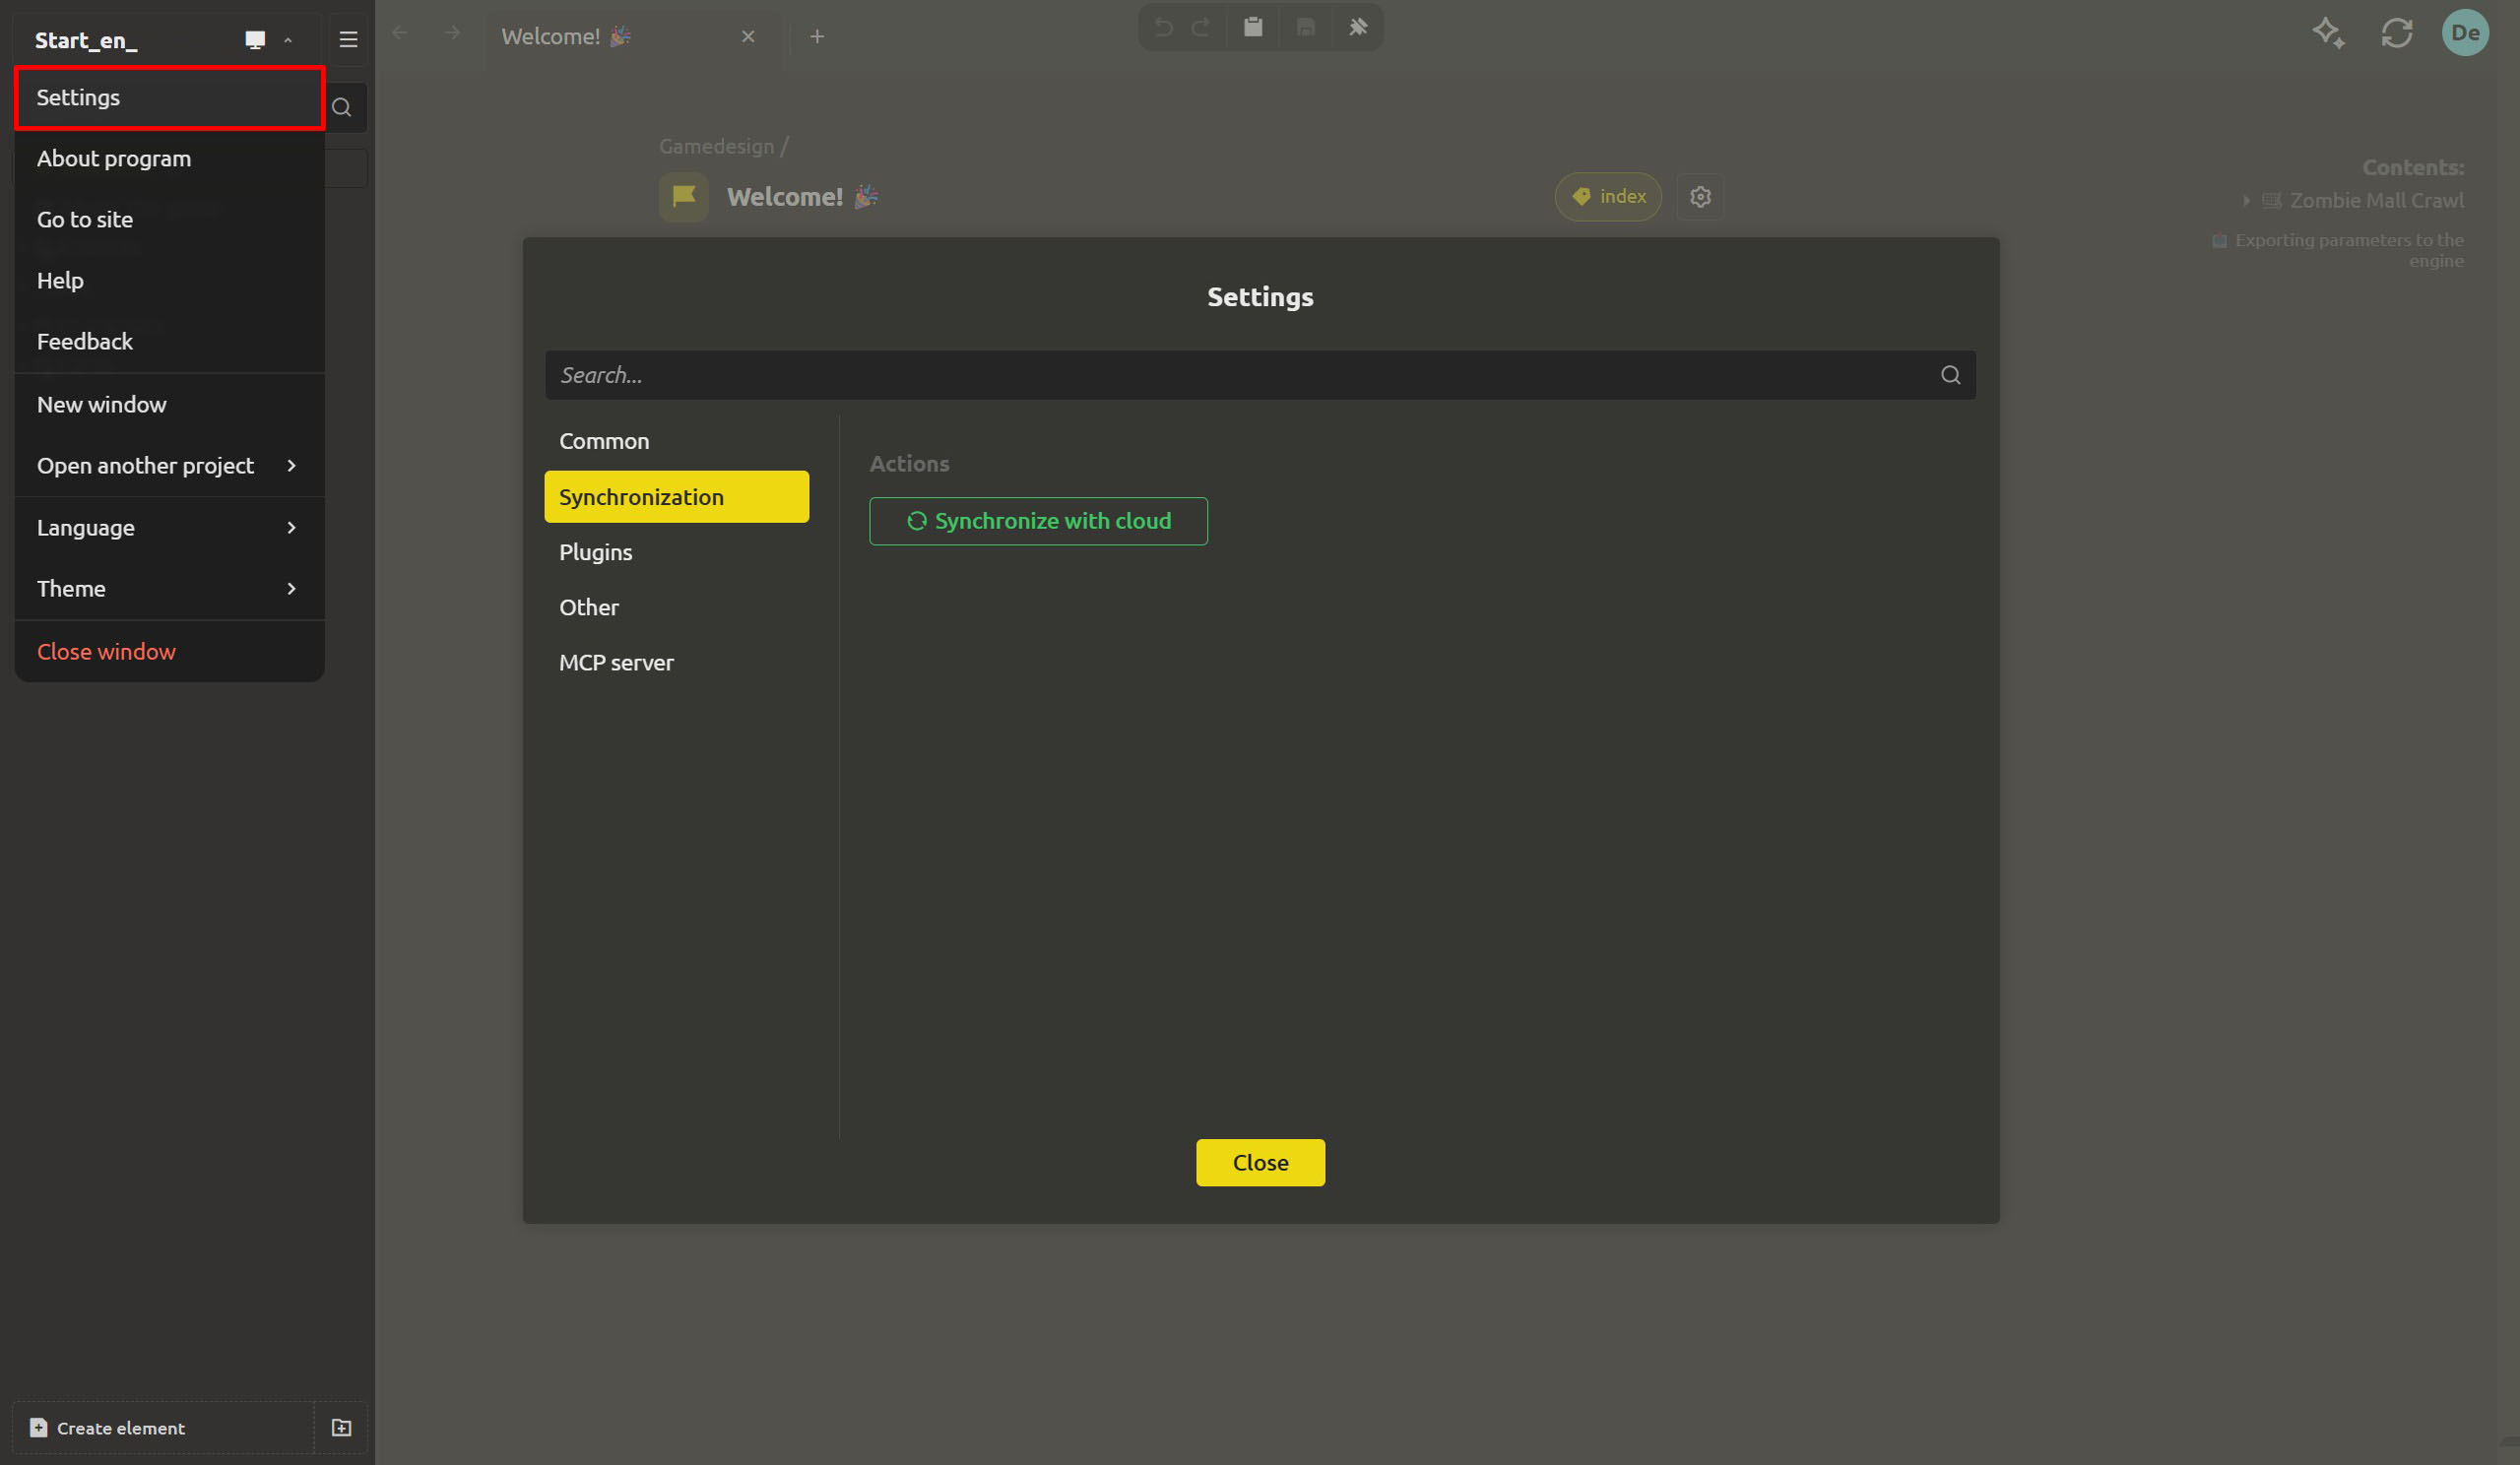
- Choose Synchronize with cloud. Then create a new cloud project or connect to an existing one.
- Wait for the first synchronization cycle to finish. If everything went well, you will see the status Synchronization is active.
- Open the same project in the browser and check that your folders are there.
If something goes wrong, use the Pause, Resume or Resynchronize all commands. And tomorrow we will set up automatic synchronization so you don't have to start the process by hand every time.
What's next: bringing the browser, desktop and game engine together
The first connection opens access to the project from the cloud, but beyond that it is important to set up a constant exchange of changes. Tomorrow we will look at how the single loop "browser → desktop → game engine" works: changes from the browser arrive in your local folder, and the auto-export regenerates the file the game engine uses. That way the design, the files and the game will all rely on the same current data.
Try it now: connect the local project to the cloud project. Then open it in the browser and look for a folder such as Enemies. If it's there, you have successfully brought your local work and the cloud workspace together.
FAQ
Will my files change when I connect? Do I need to import them?
No. Your project is still stored in plain .md and .json files. There is no separate conversion step or intermediate export: the cloud workspace simply makes the same project reachable from a browser.
Will my local files stay in place?
Yes. The folder structure does not change, and you can keep tracking it in git. When changes arrive from the cloud, sync updates the local project, but the folder does not turn into a cache of a remote copy.
What data gets synchronized?
The game design in the gdd section is synchronized: folders, elements, typed properties, references and workspaces. The collaboration tools - the task board, discussions and planning - stay in the cloud.
Can I connect to a cloud project that the team is already working in?
Yes. If you already have a shared workspace, choose the existing cloud project when connecting instead of creating a new one. That way you and your colleagues work with one project, with no duplication of data.
What if I don't want to use sync?
Nothing needs to change. The desktop app remains a complete offline editor for local projects. Sync is for teams that need shared access to the design, and not using it does not get in the way of working with local files.